

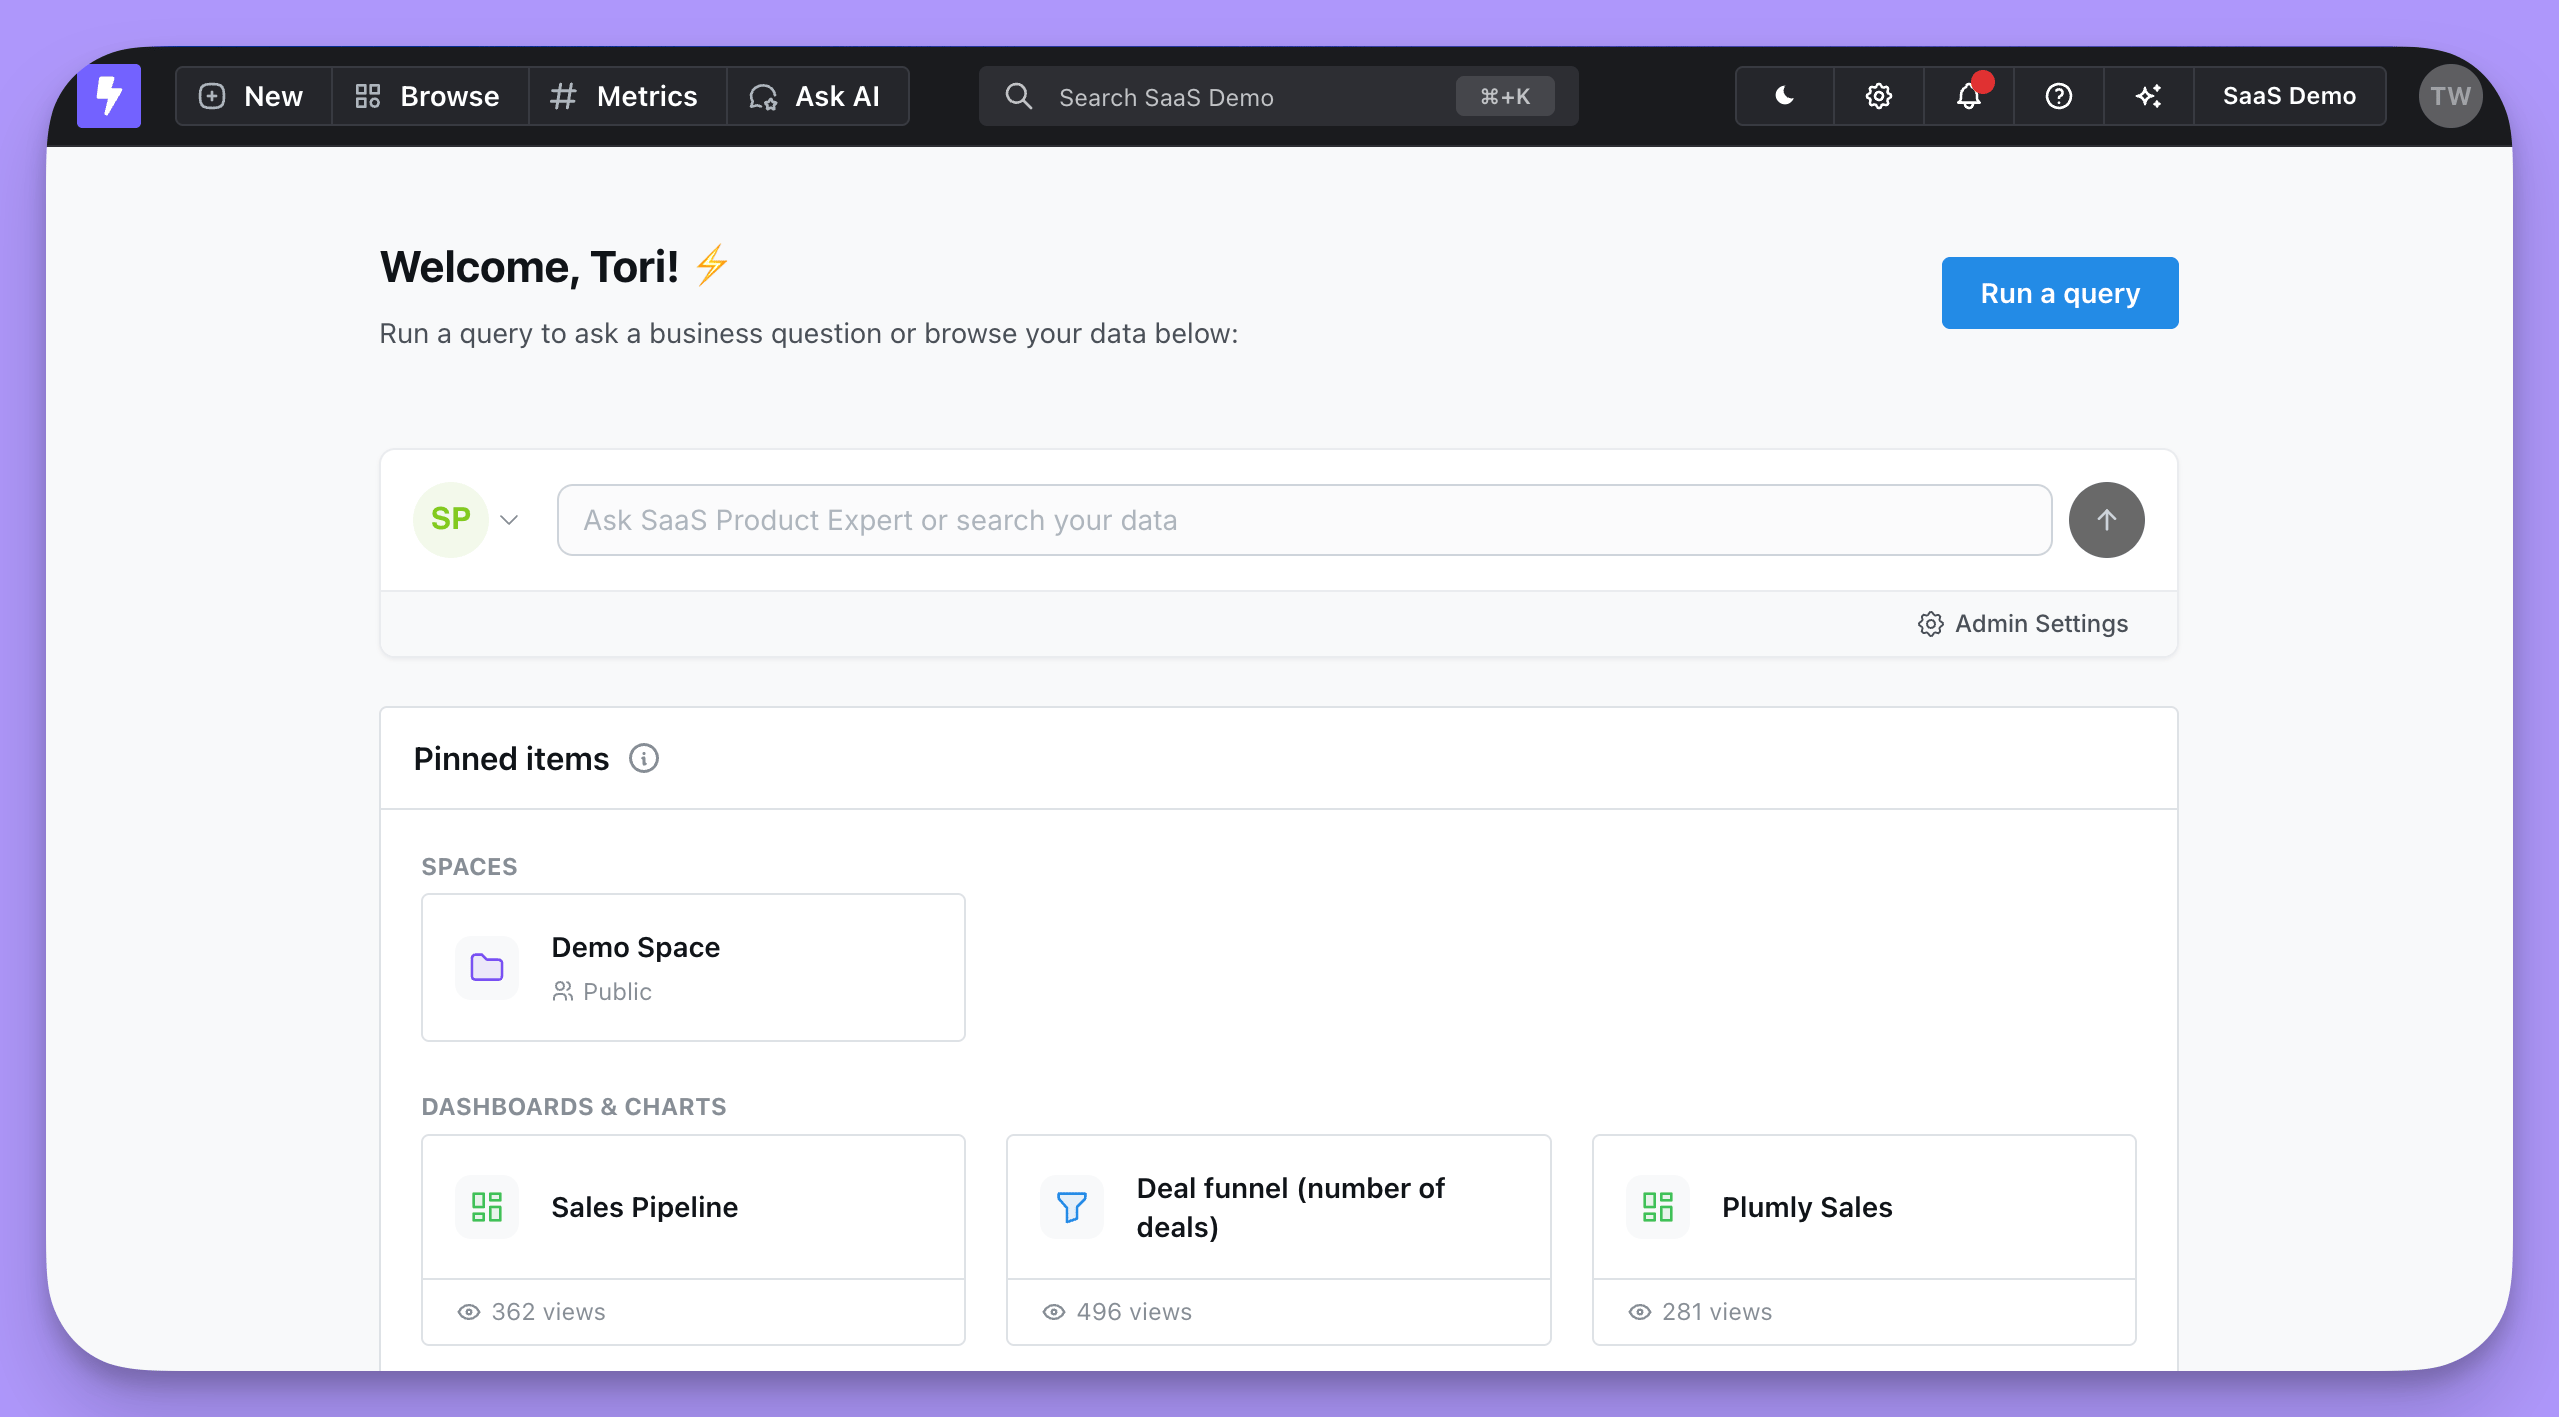
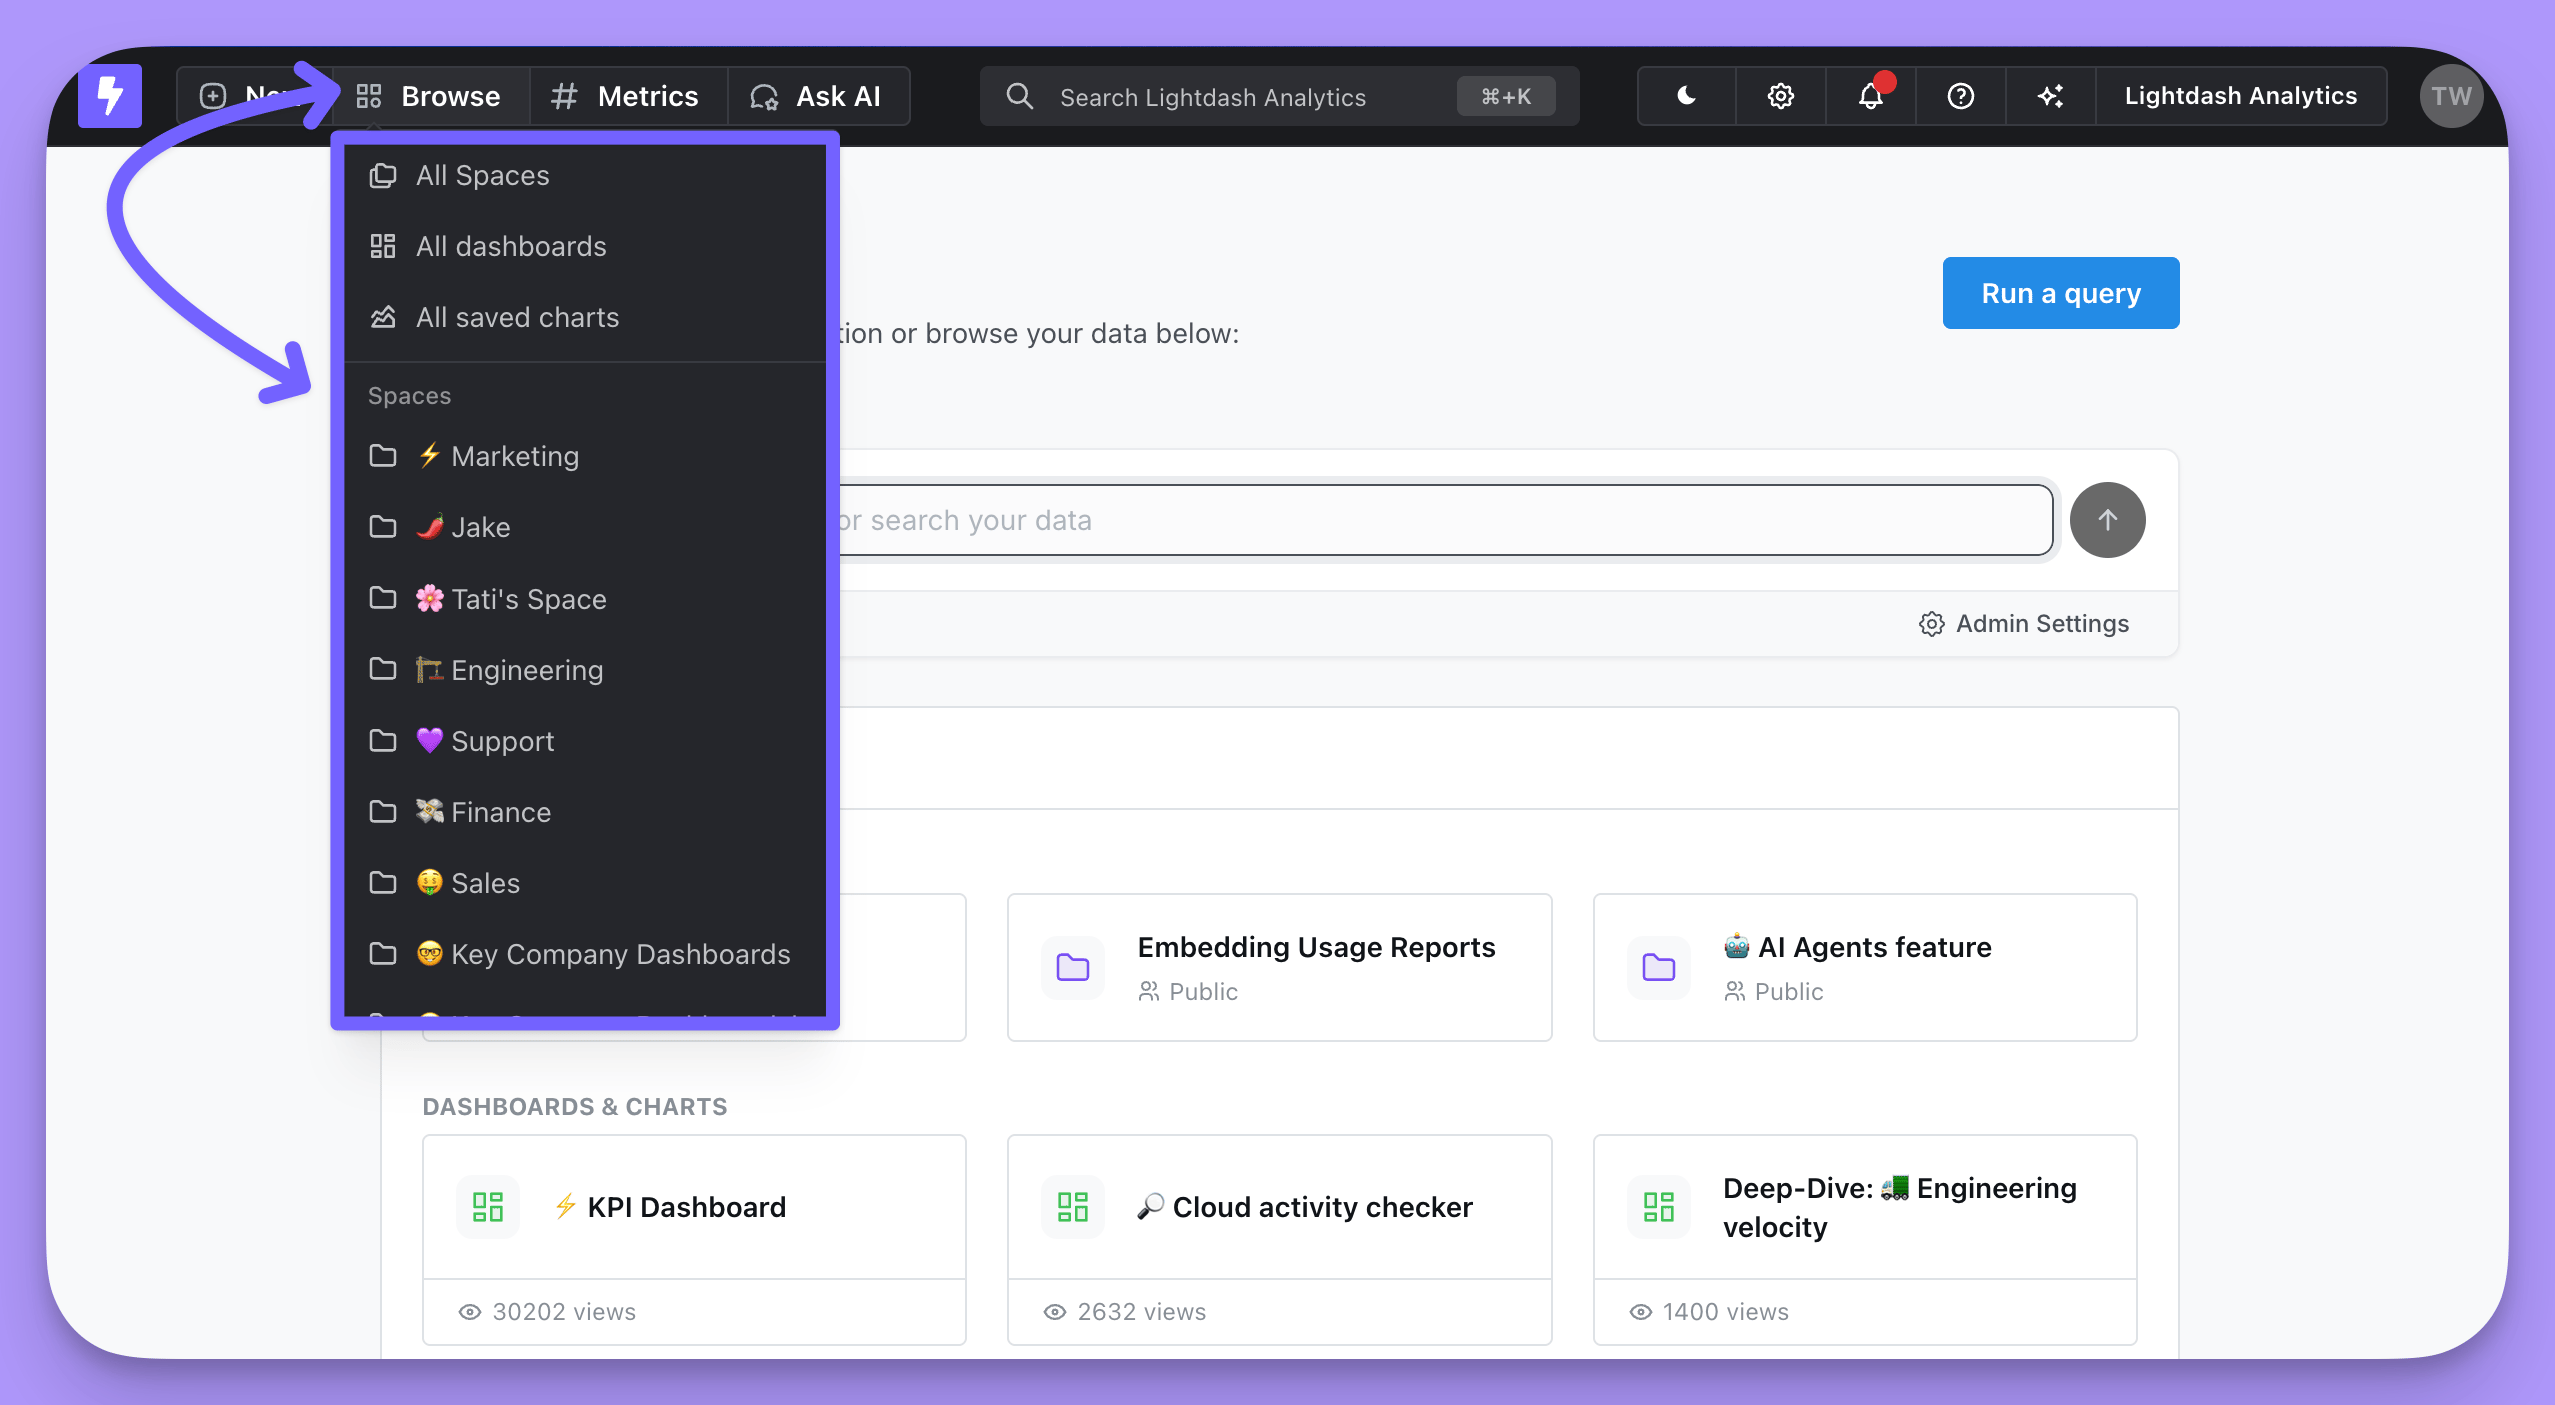
Browse or you can click on the Lightdash icon and select your Space from the homepage.
Creating a Space
Editors and above can create Spaces. ClickAdd on the All spaces page, or pick Space from the + New menu in the navigation bar, then give the Space a name. Root-level Spaces also ask you to pick an access mode as you create them: Inherited access (everyone in the project, the default) or Restricted access (only invited users and groups) — see managing access for what each means.
To create a nested Space, open the parent Space and pick Create space from its Add menu. A nested Space always starts with the same access as its parent; you can change that after creating it. Either way, you become an admin of the Space you created, and it appears in Browse and on the All spaces page alongside the rest.
Moving items between Spaces
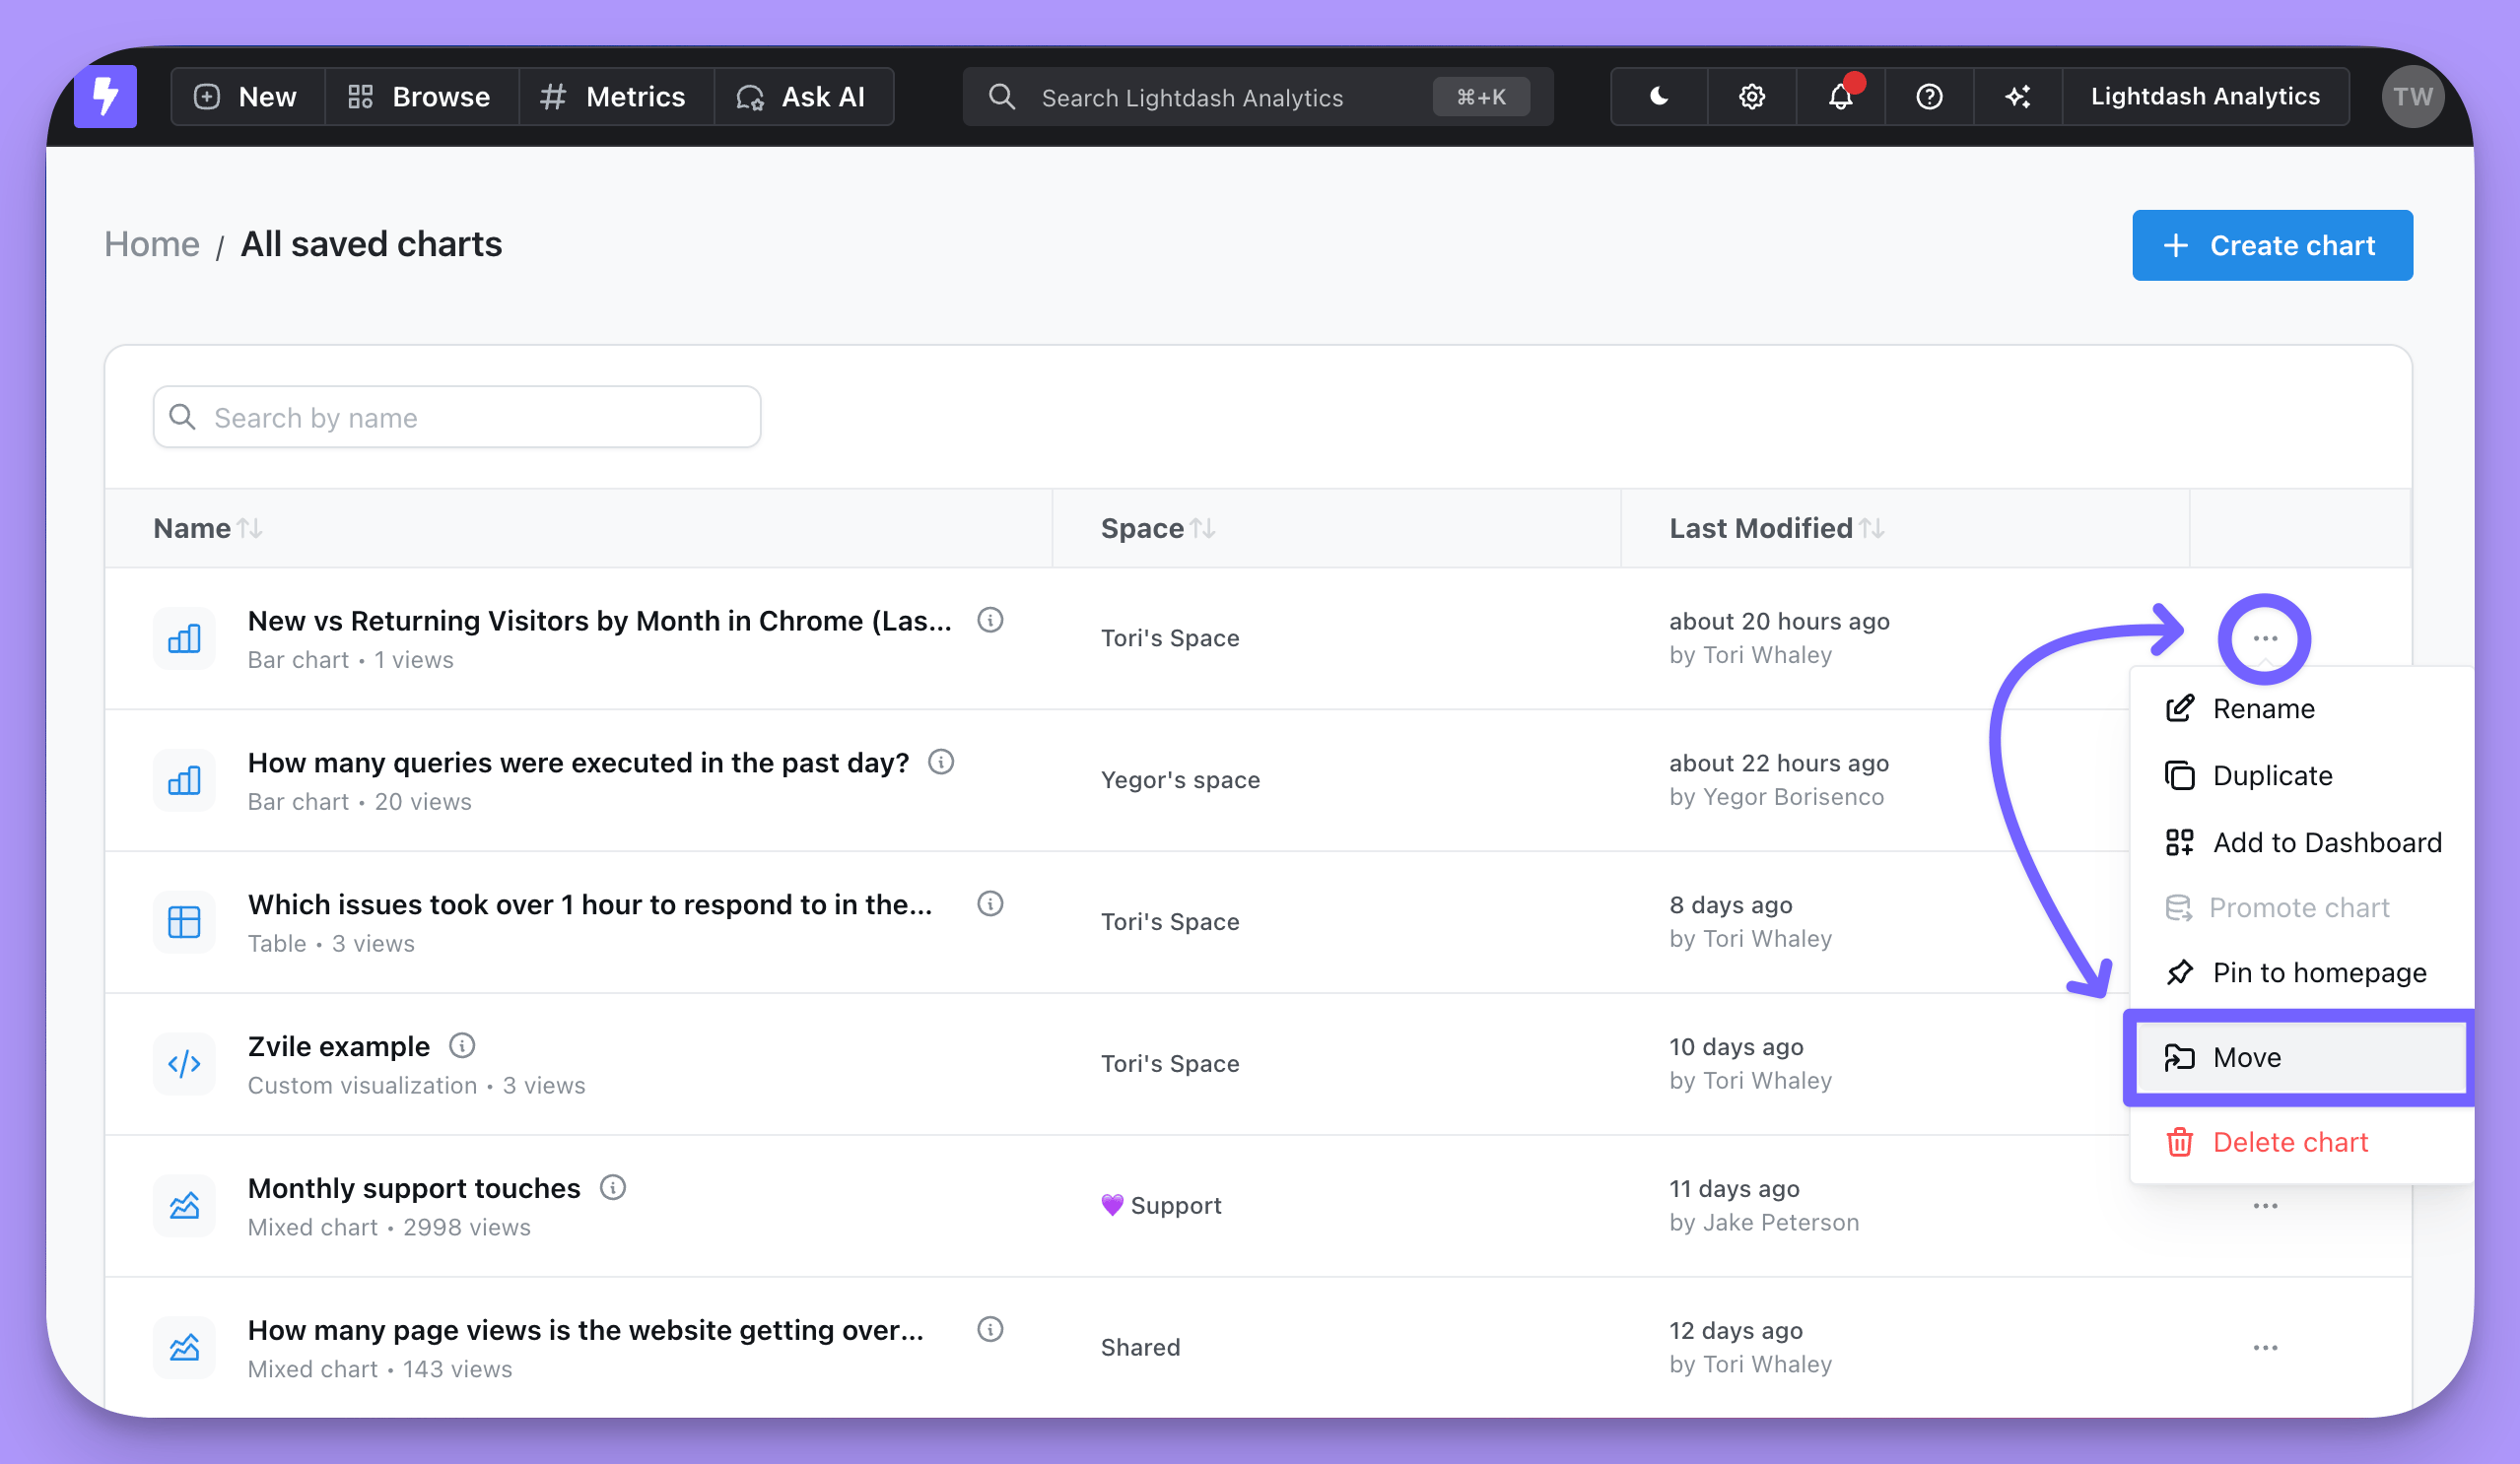
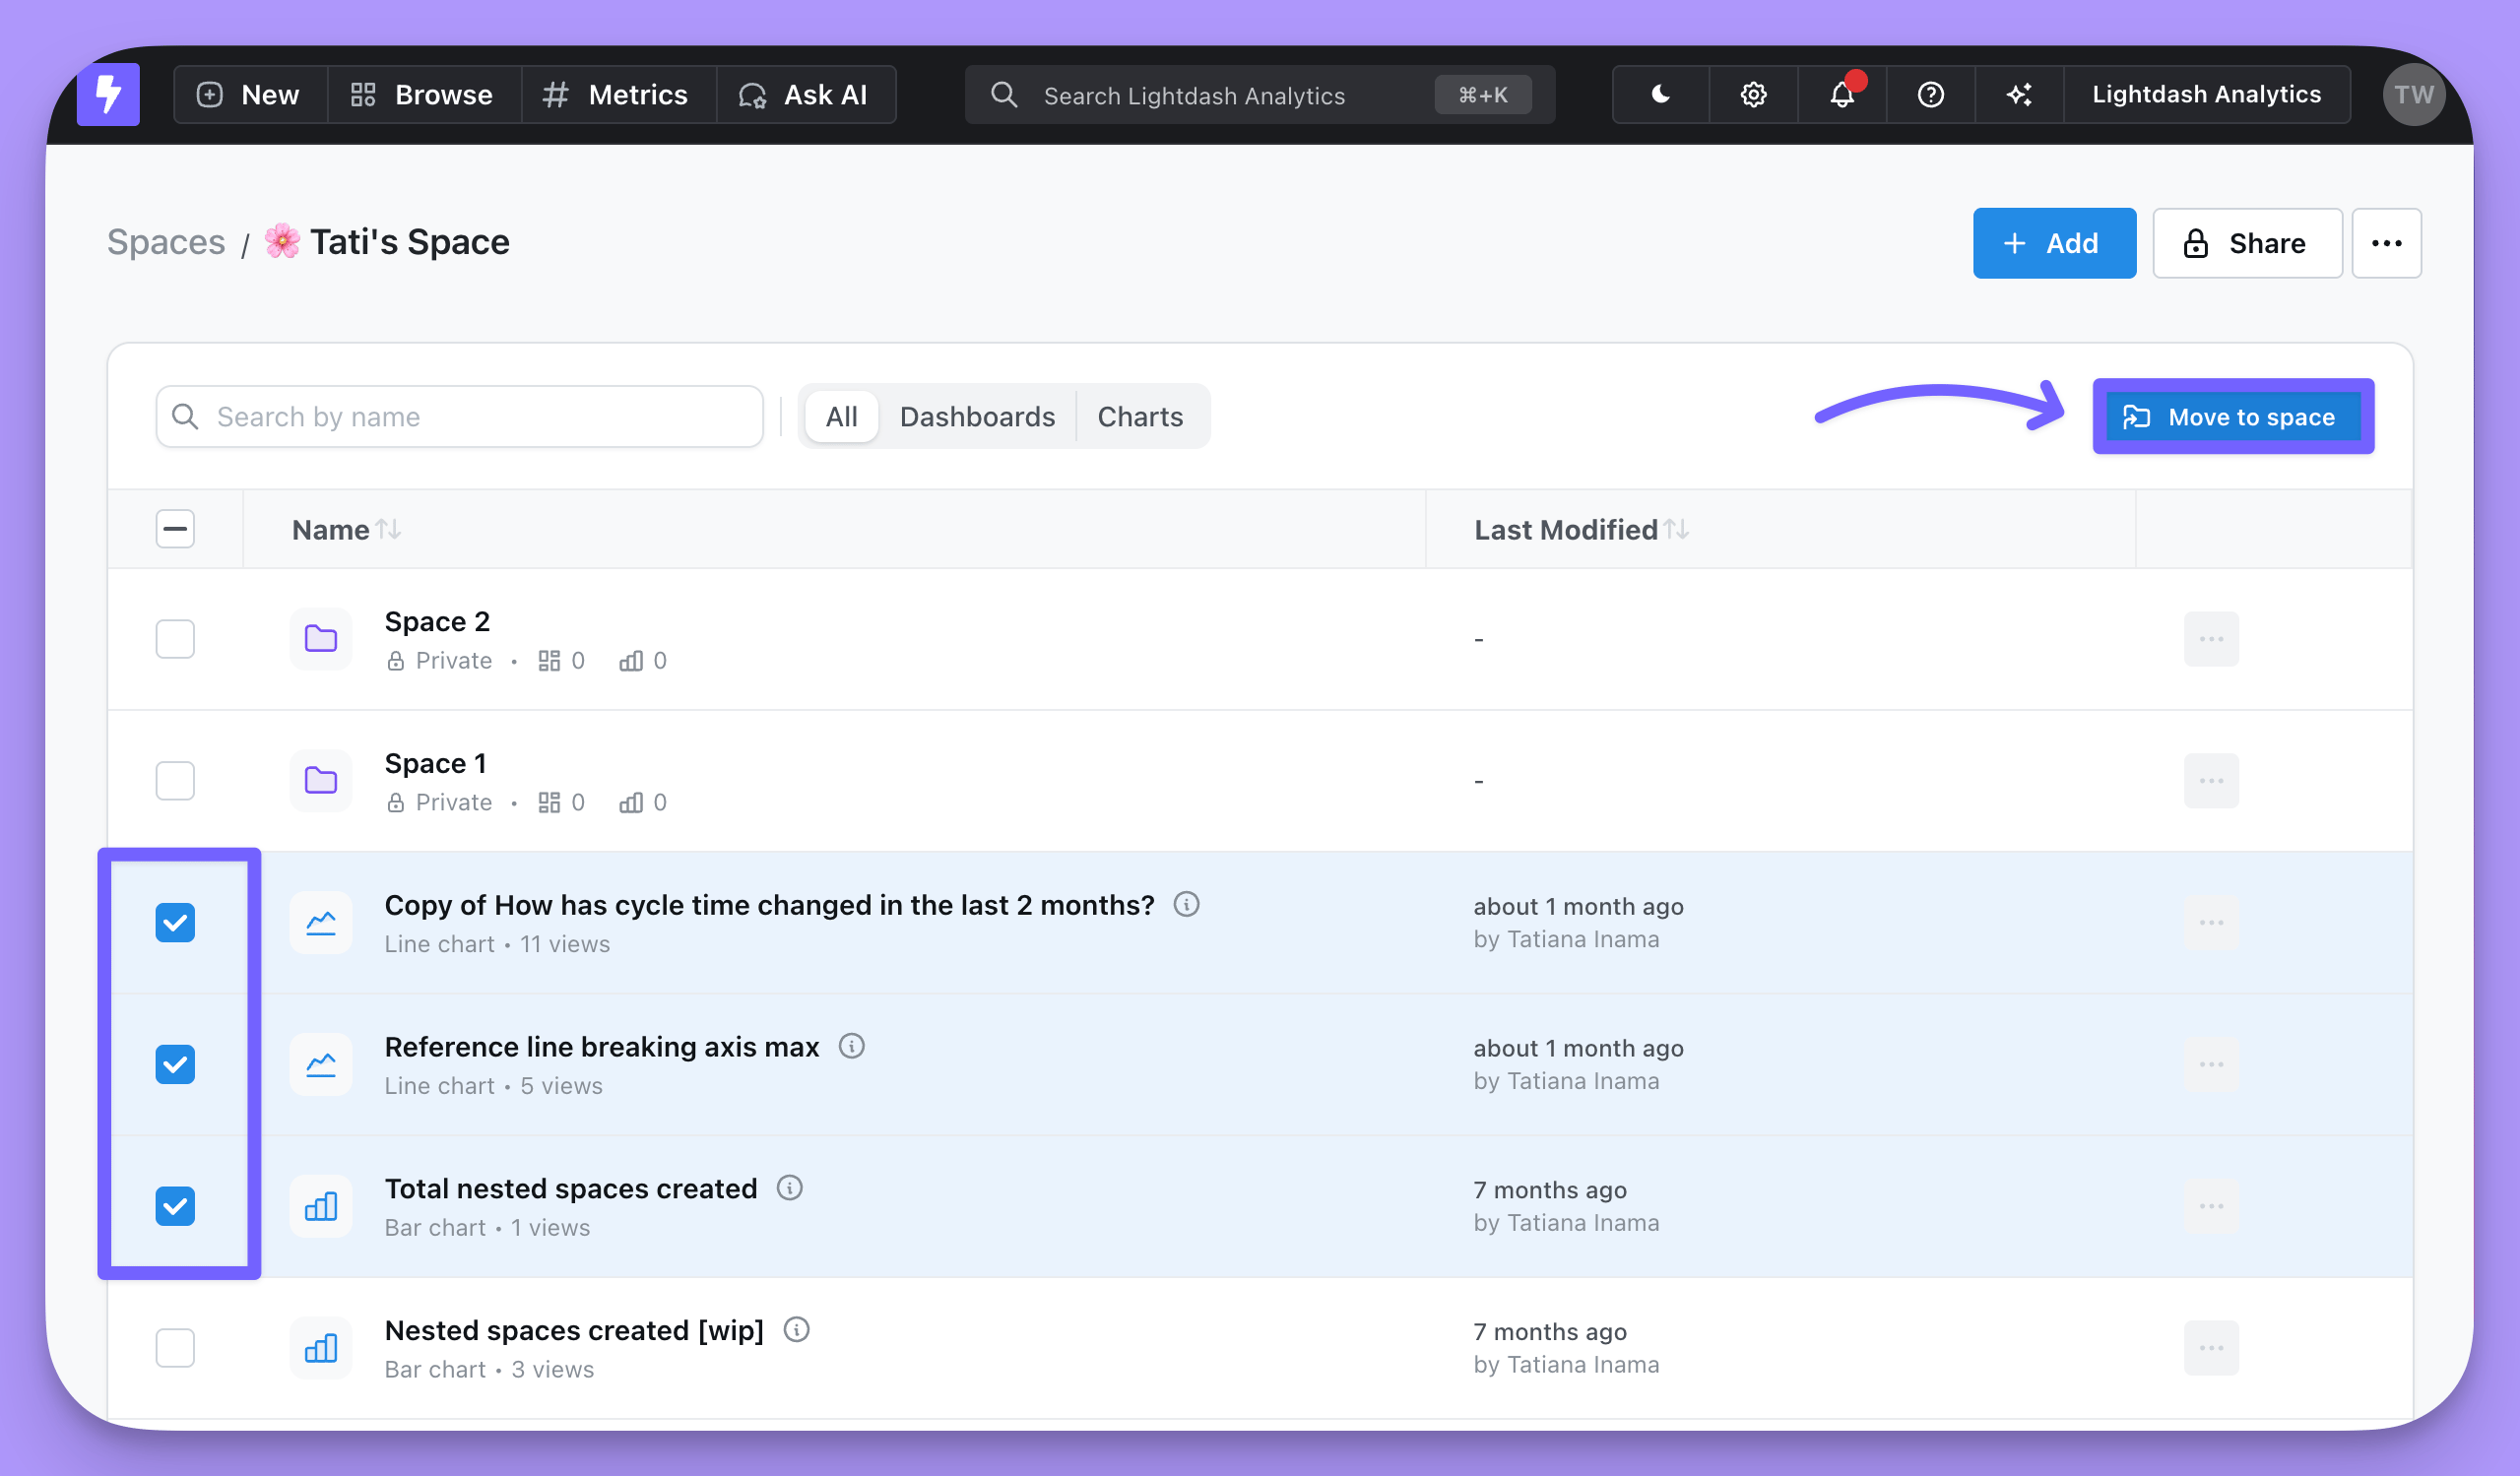
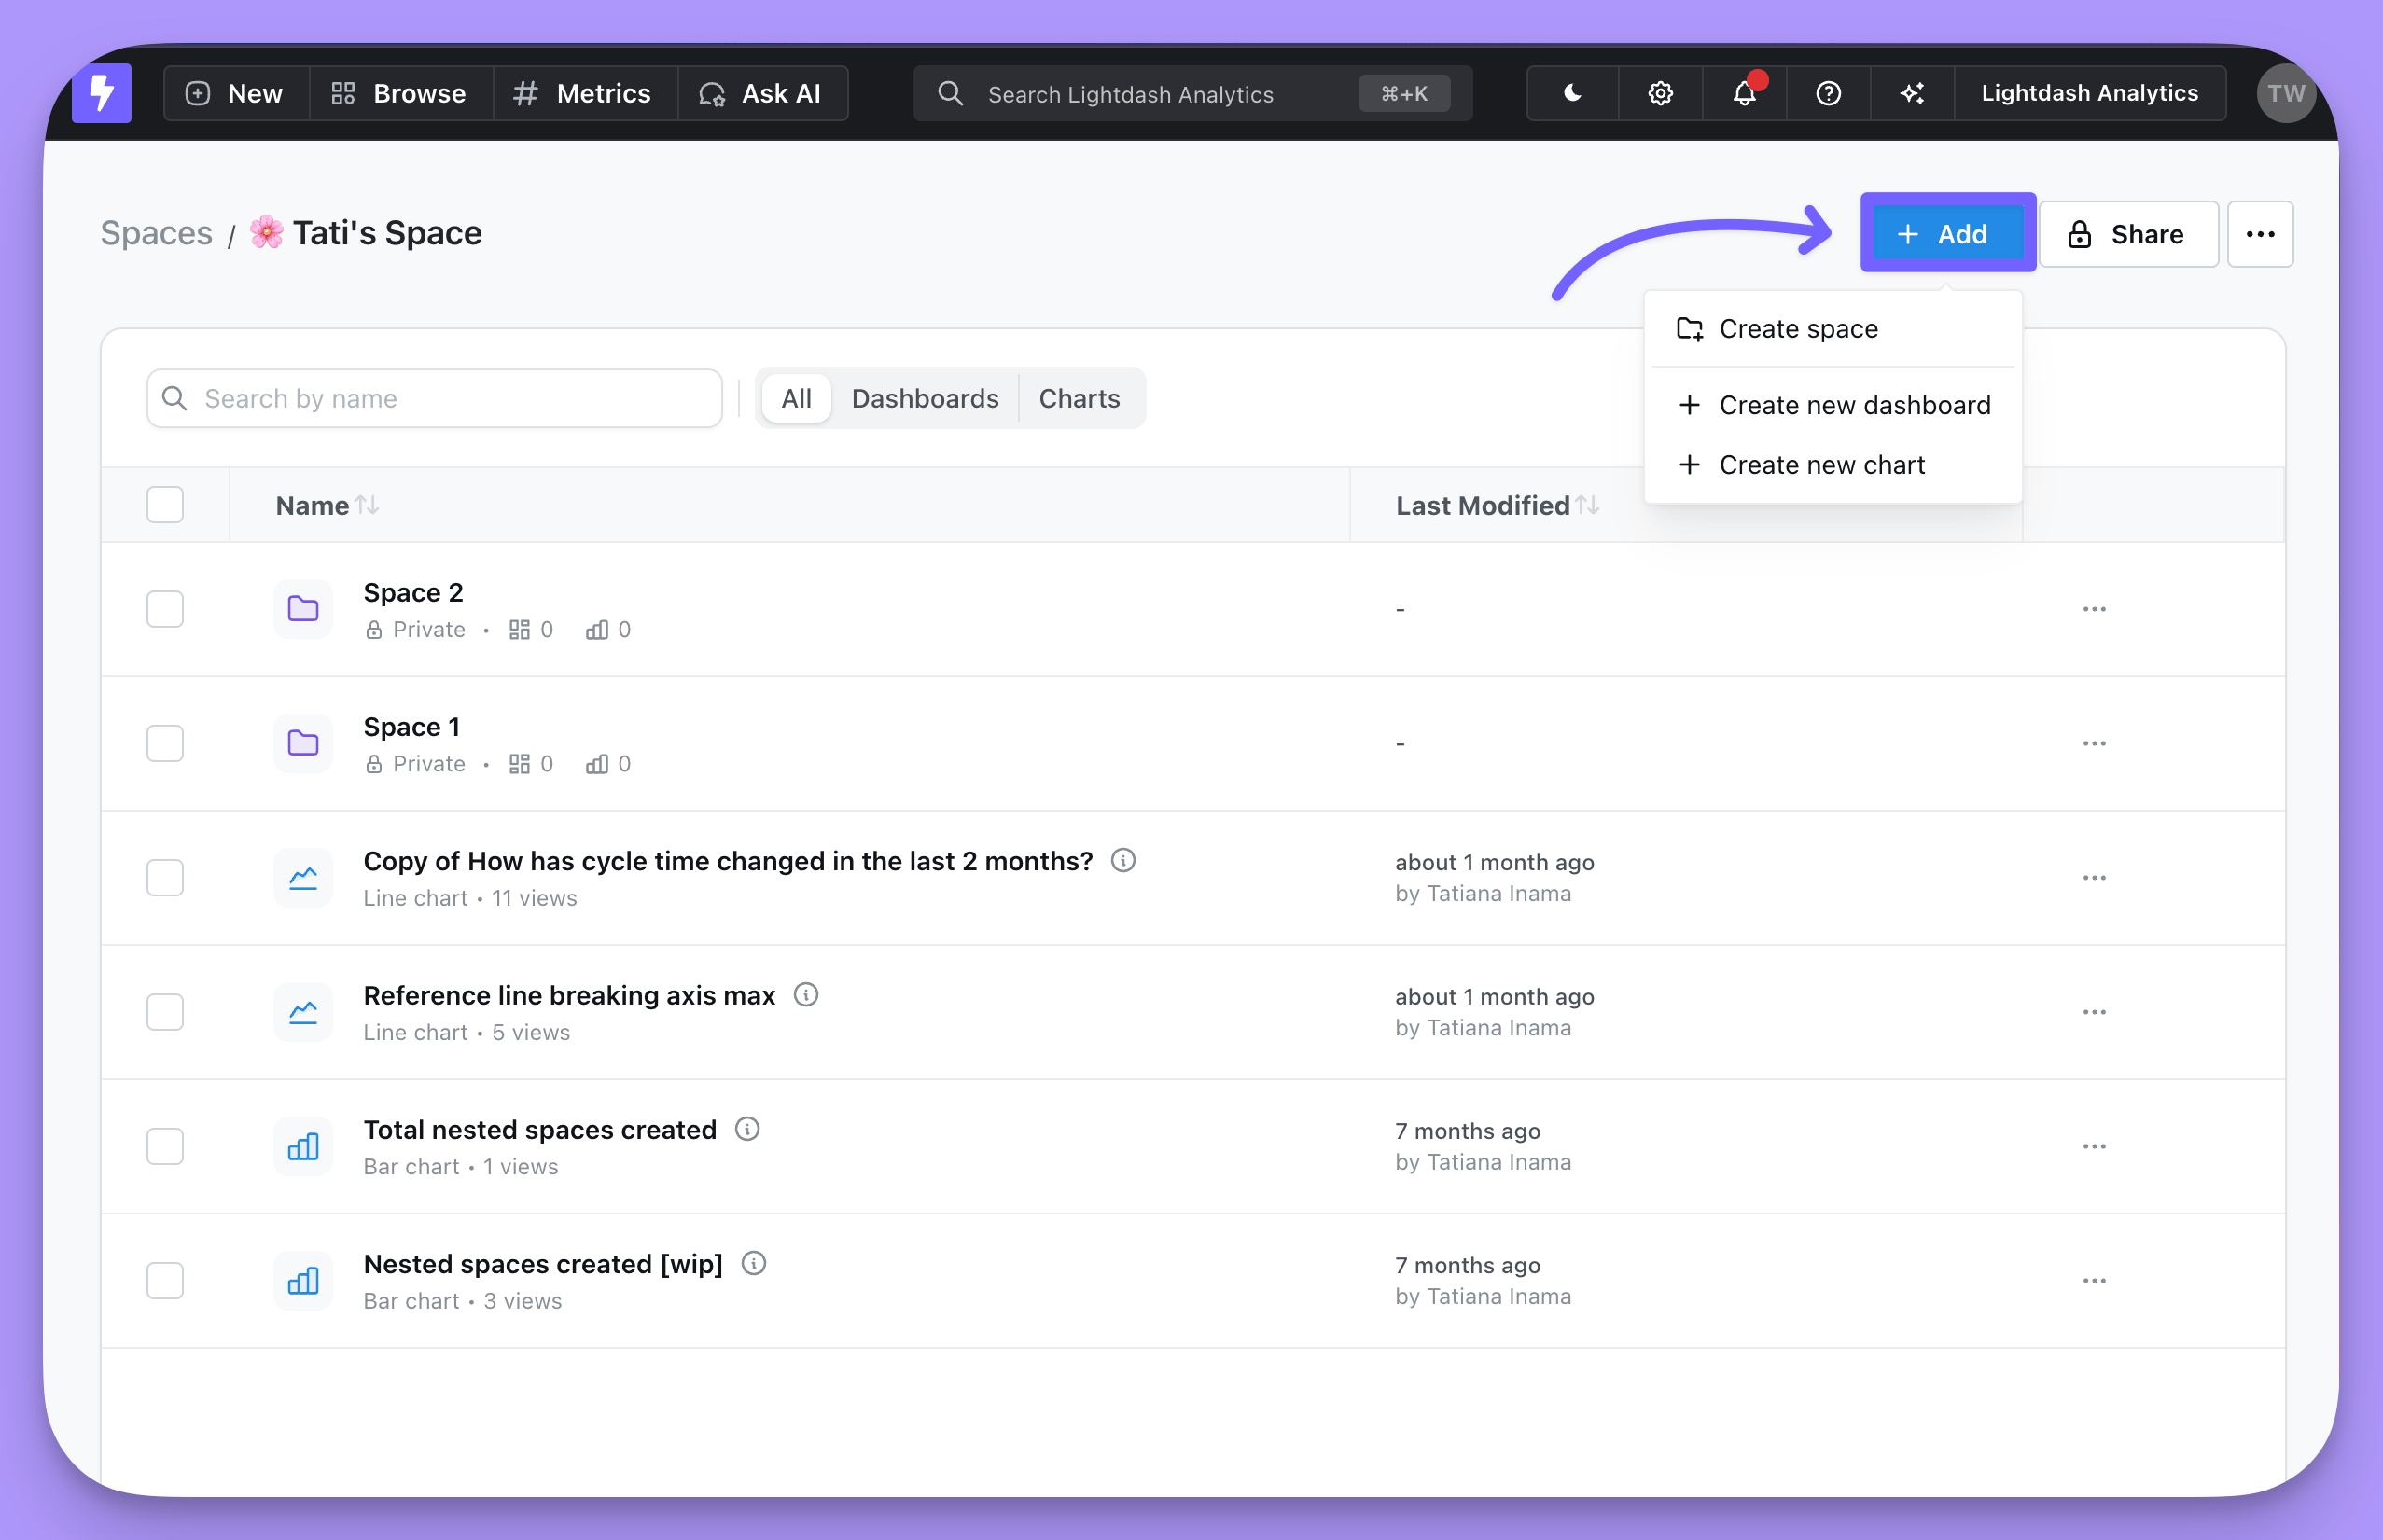
To move a saved chart, dashboard or space between Spaces, you can click on the three dot menu (...) to the right of the item and pick the Move action. Or select items using checkboxes on the left and click Move to Space.
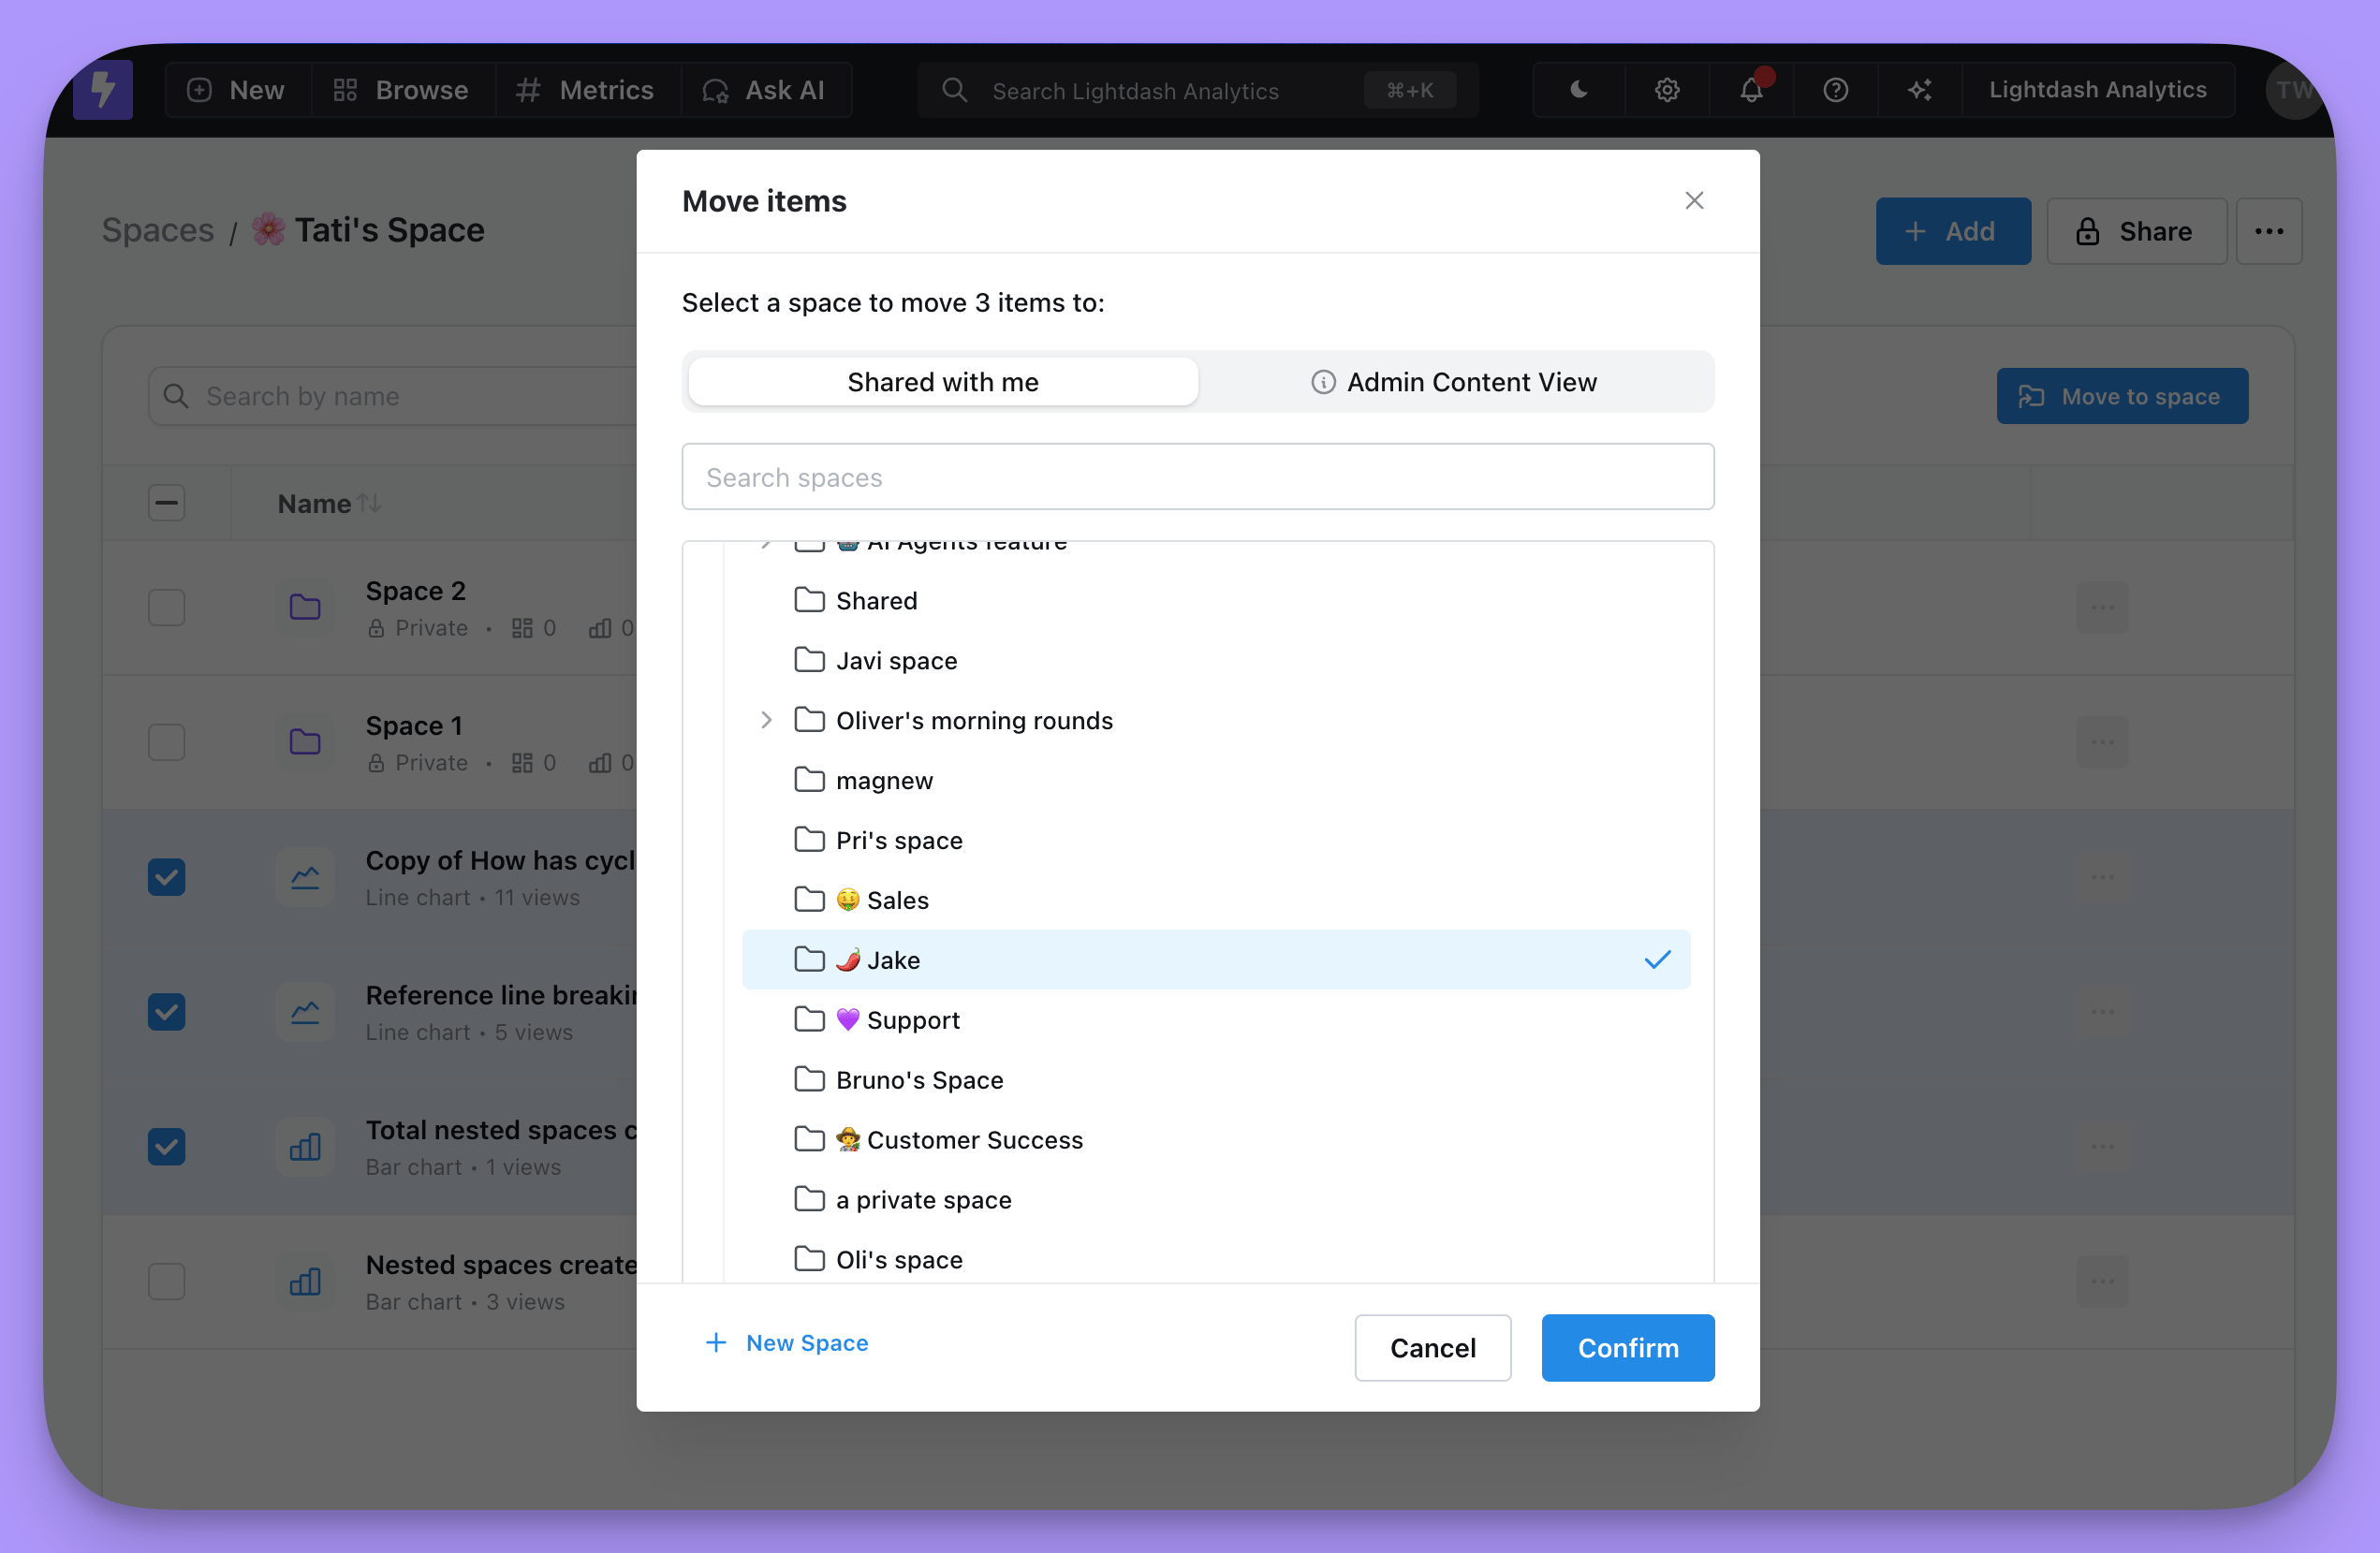
Add button on the space page.
Updating and deleting Spaces
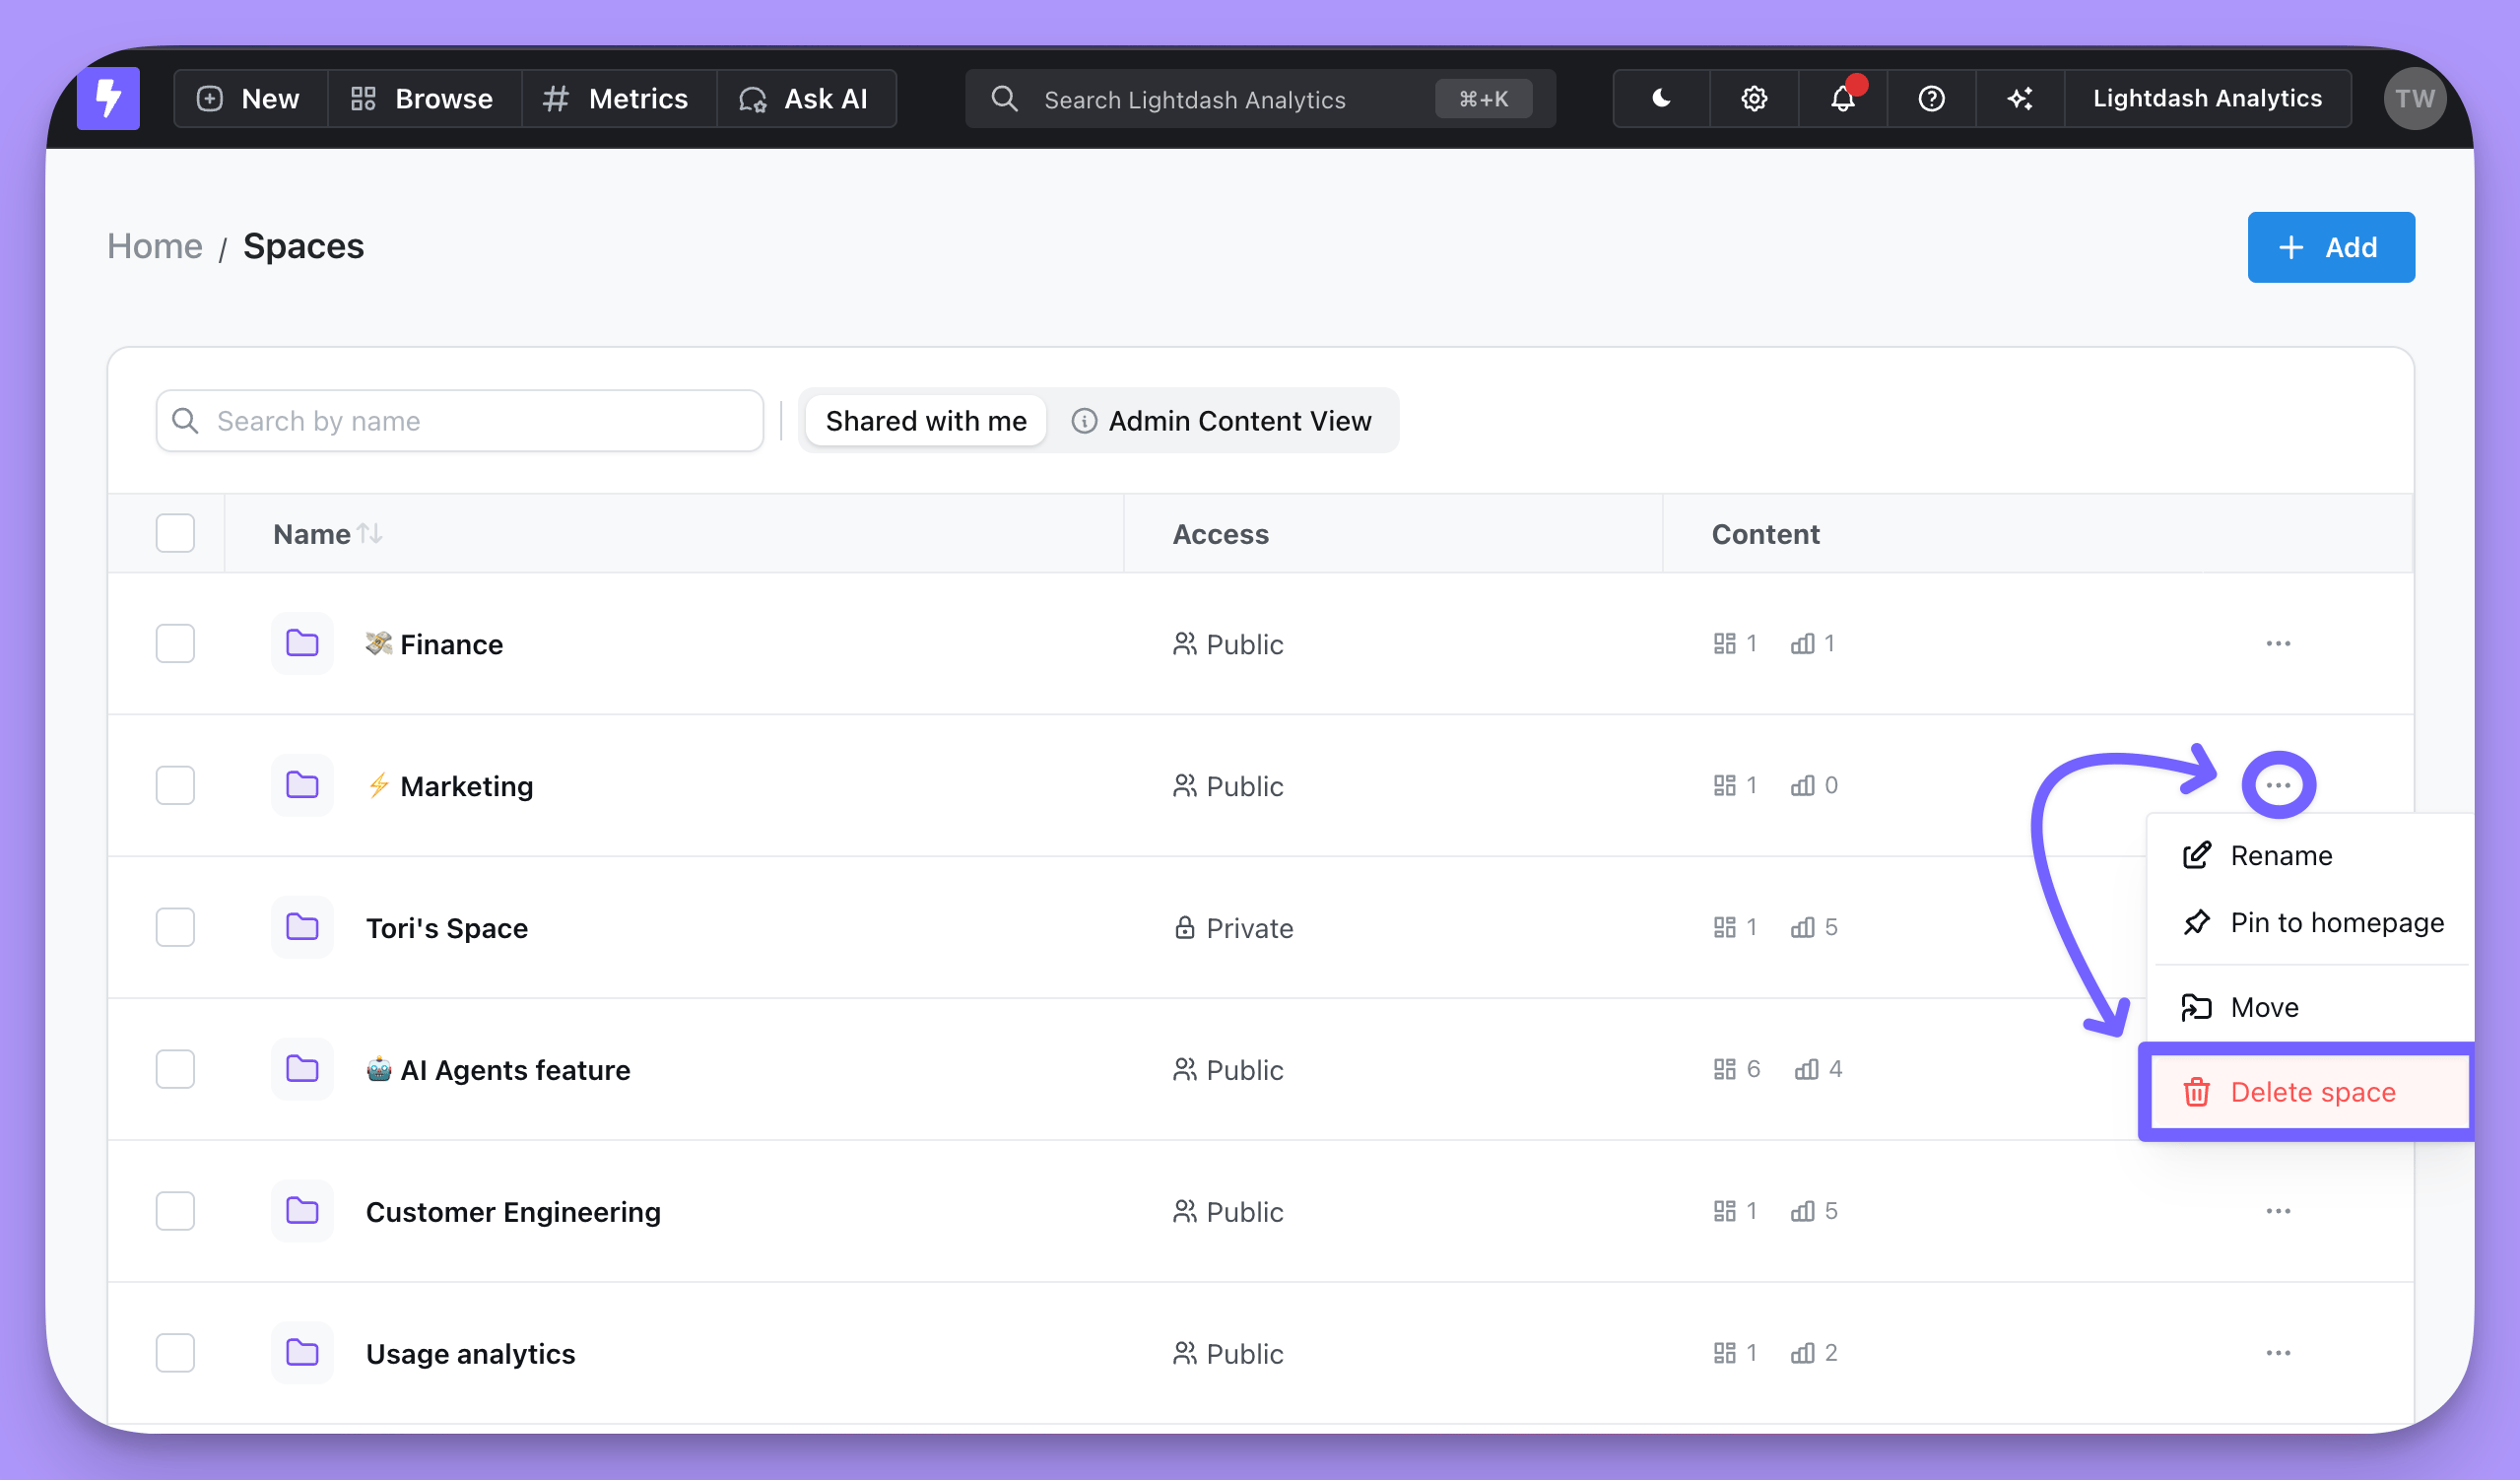
You can rename or delete your Space from All Spaces view or on the homescreen by clicking on the three-dot menu (...) for the Space.
Managing access to a Space
By default, when you create a Space, it has Inherited Access—inheriting permissions from the project (for root-level spaces) or from the parent space (for nested spaces). You can change a space to Restricted Access to limit it to only invited users and admins.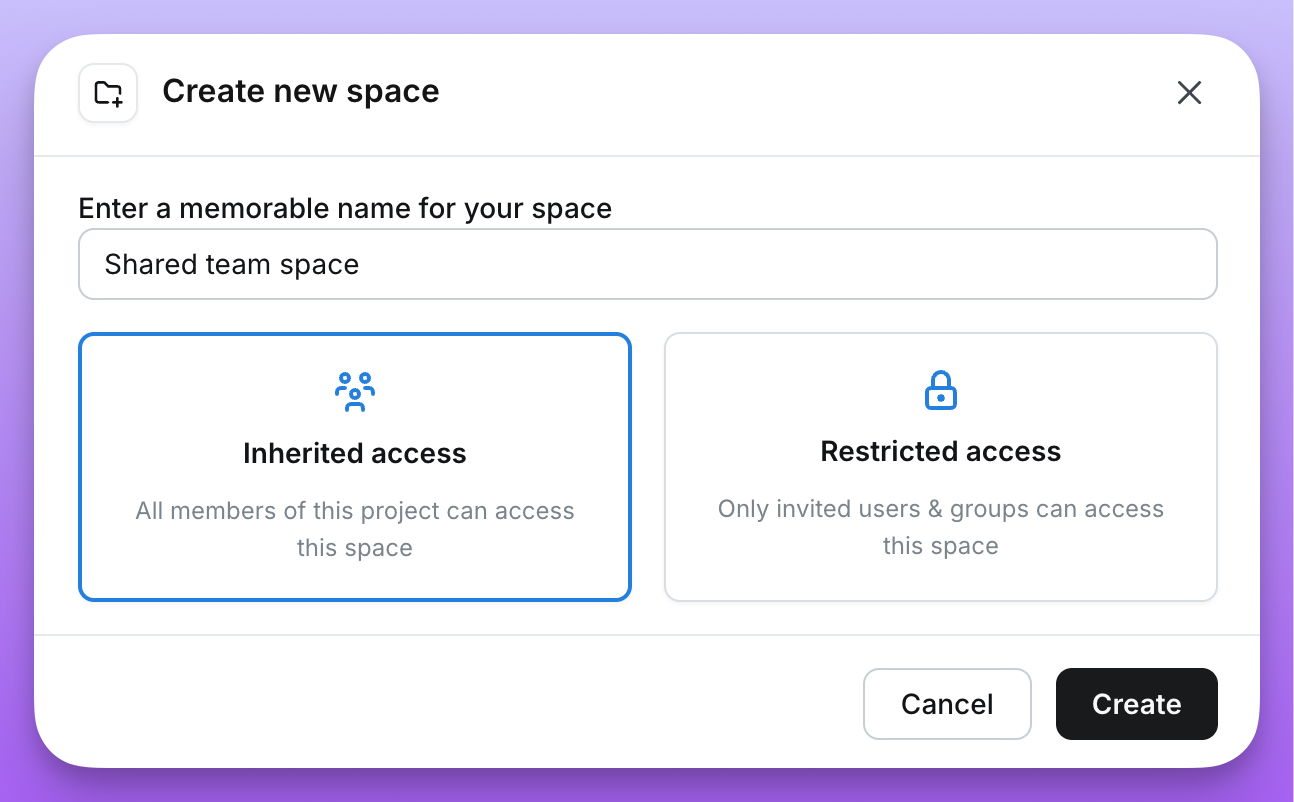
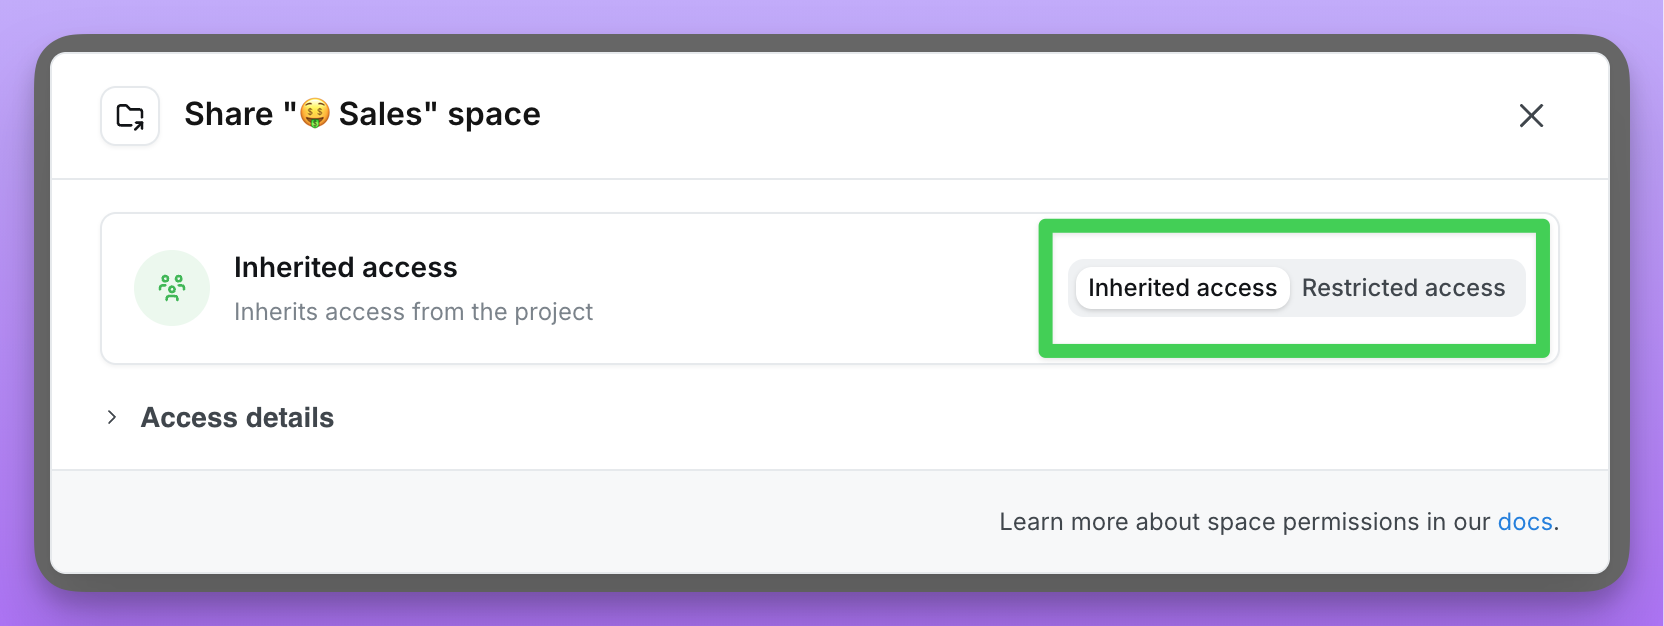
...) and select Share. From there, you can choose between Inherited Access and Restricted Access.
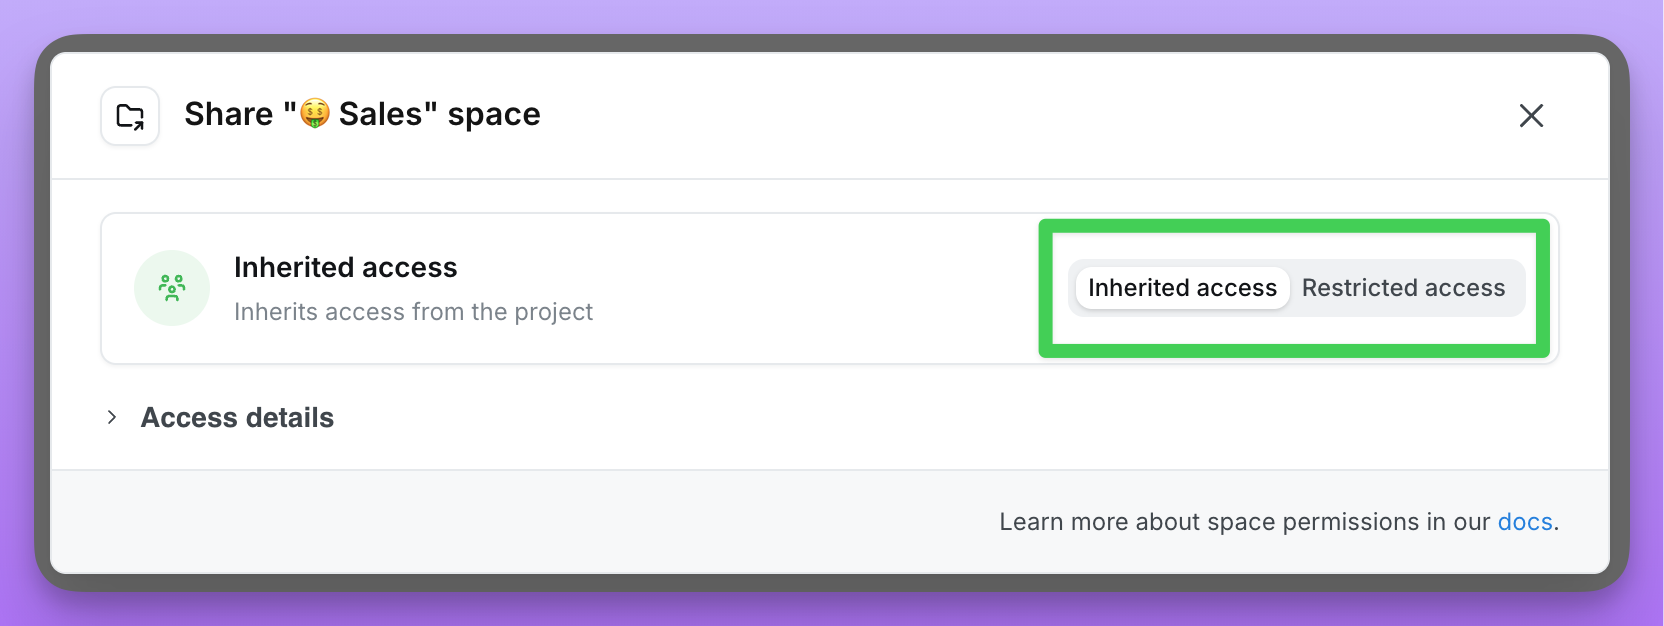
Can View access to a Space.
For what each space role can do, see the space roles table.
Restricted Access spaces
Only admins and members that are invited to a Space with Restricted Access have access to it. For example, here I have a Space with Restricted Access. Only admins and the invited members have access to this Space. Katie, Filipe and Marshall have inheritedFull Access because they are organization admins. Priyanka was invited to the space, so she has Can View access to the space. Individual items can also be shared through Direct access, which does not grant access to browse this Space.
Only users with Full Access permissions to a Restricted Access Space can invite other users to that Space.
Give all project members view access
To let everyone in a project view a Space while allowing only selected people to edit it:- Set the Space to Restricted Access.
- Review the Space’s direct grants and remove or reduce any unwanted Can Edit or Full Access entries.
- Add All project members with Can View.
- Give selected users or groups Can Edit or Full Access.
Inherited Access spaces
Everyone who has access to your project (or parent space) has access to a space with Inherited Access. For example, here I have a Space with Inherited Access. Everyone who has access to my Project, “Lightdash analytics”, will get access to the content in my space.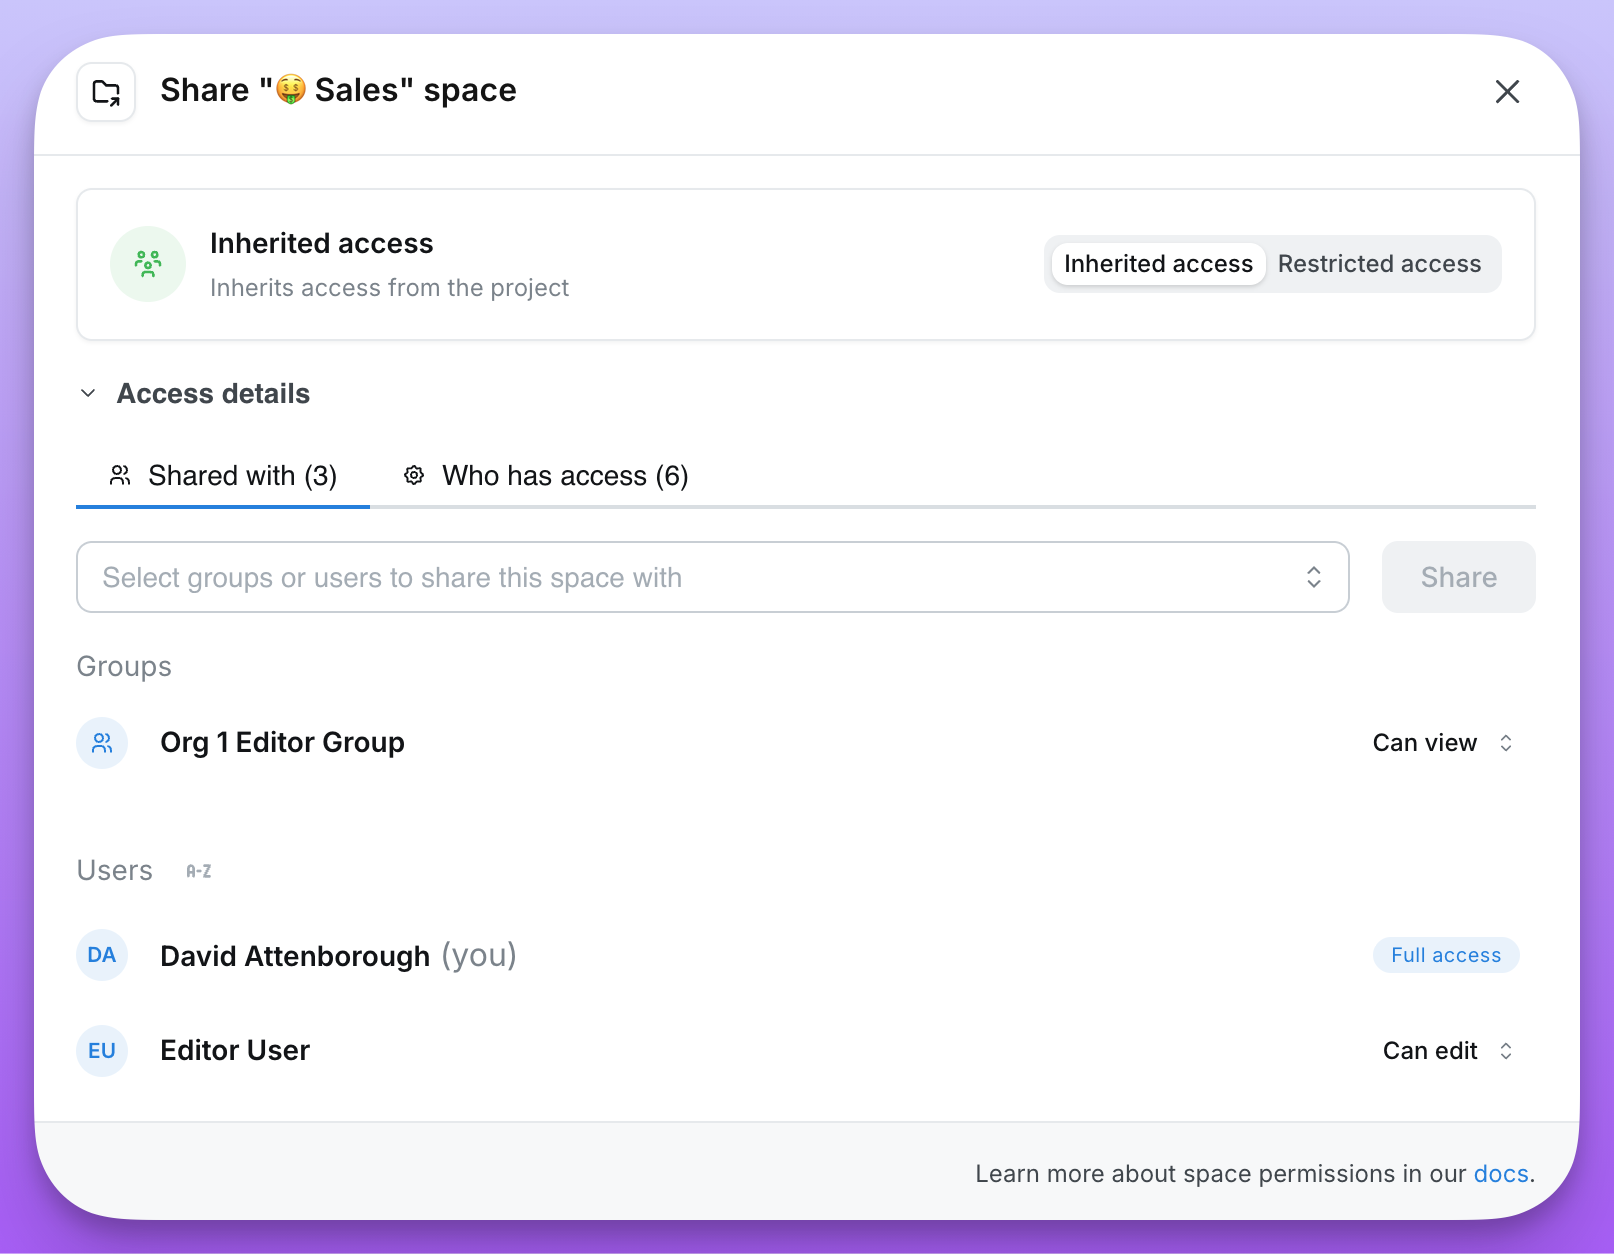
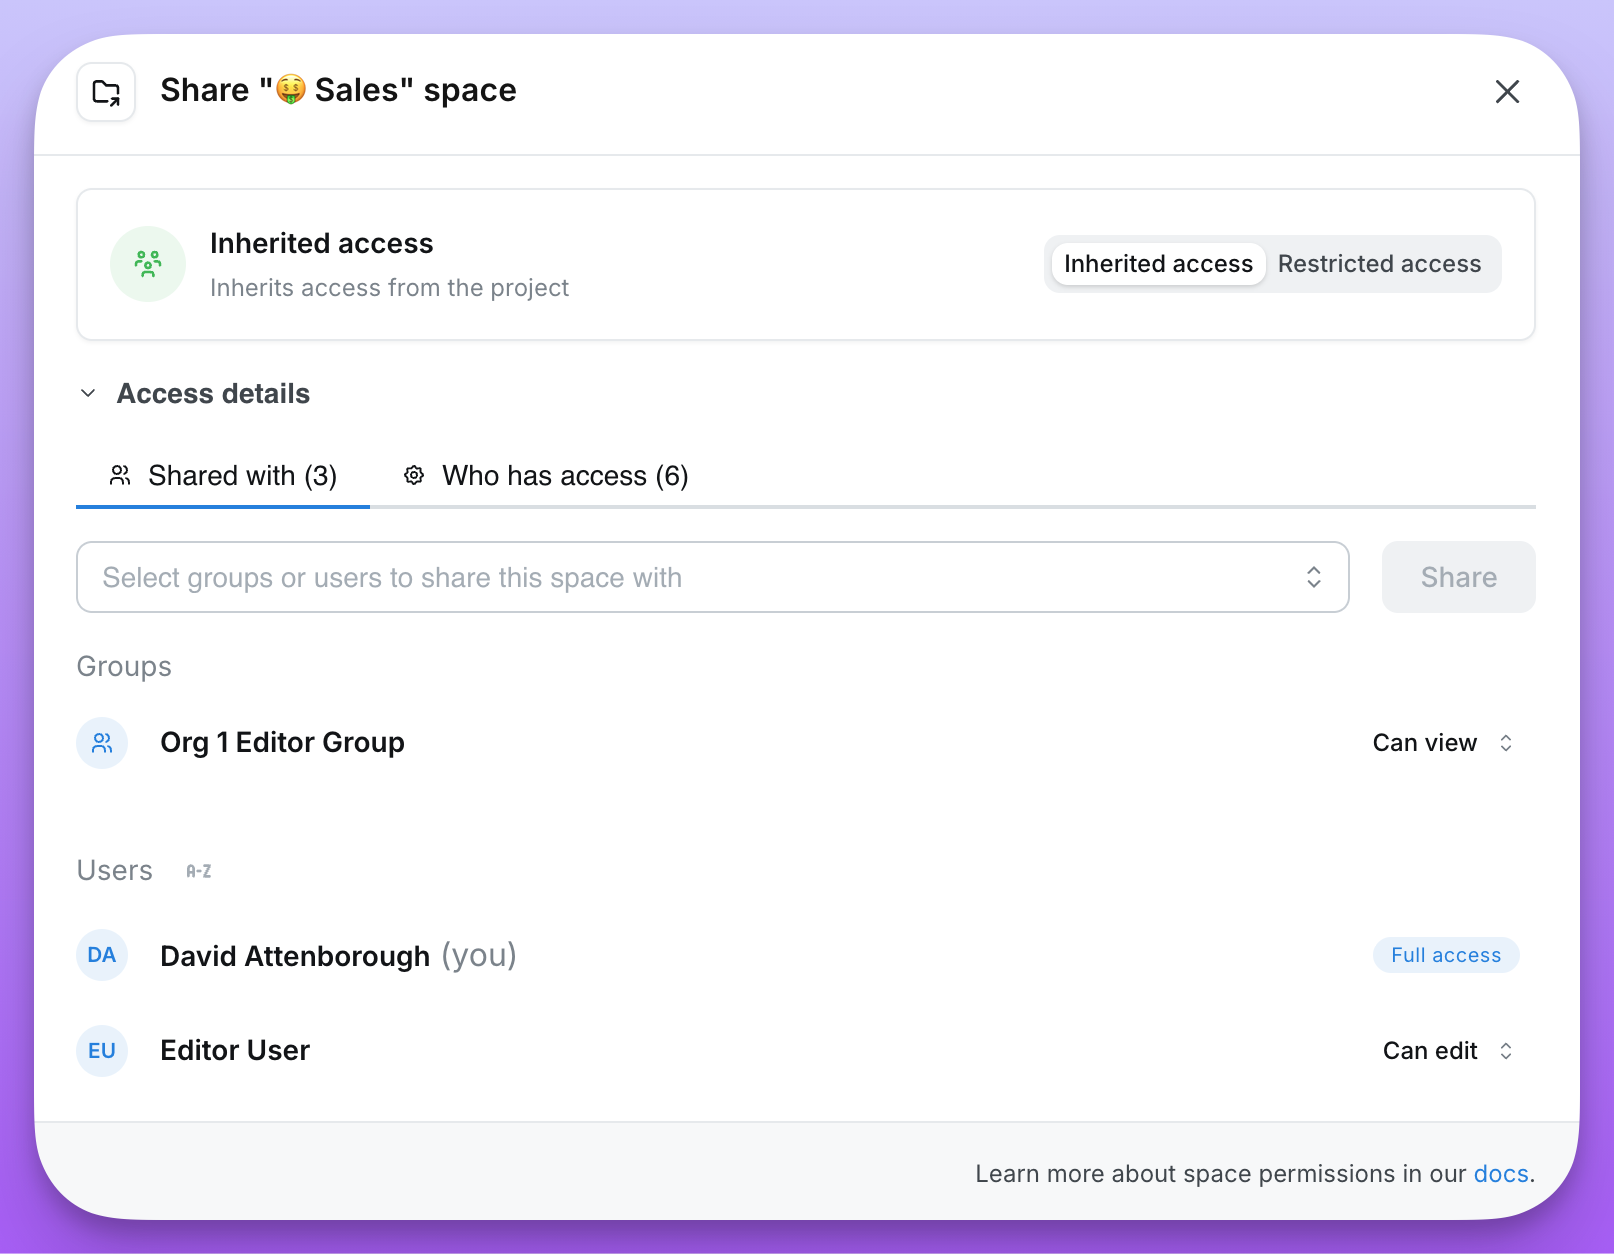
editor in my project, they will have Can Edit permissions in my Space. If someone is a viewer in my project, they will have Can View permissions in my Space. For more details about actions you can take in a Space based on your role, check out this table.
Users with Full Access can change a user’s Space permissions. Users cannot be removed from Inherited Access Spaces. To give a user No access, change the Space from Inherited Access to Restricted Access.
Nested space permissions
Spaces can be nested inside other spaces to create a hierarchy. Nested spaces have flexible permission options that allow you to either inherit permissions from their parent or define custom access.Permission inheritance options
When creating or editing a space, you can choose between two access modes:- Inherited Access: The space inherits permissions from its parent. For nested spaces, this means inheriting from the parent space. For root-level spaces, this means inheriting from the project. This is the more open option—users with access to the parent automatically have the same access to the space.
- Restricted Access: The space defines its own permissions, which its children inherit. Only users and groups explicitly invited to this space (plus admins) can access it. This is the more restricted option.
How permission inheritance works
When a nested space uses Inherited Access:- Inheritance chain: Permissions flow down through the space hierarchy. If Space A contains Space B, and Space B contains Space C, then Space C can inherit permissions all the way from Space A (if both B and C use Inherited Access).
- Breaking inheritance: When you switch a space from Inherited Access to Restricted Access, the current inherited permissions are copied as direct access entries. This ensures users don’t suddenly lose access when you restrict permissions.
- Effective access: Lightdash collects direct user, group, and All project members grants from the Space and every active ancestor in its inheritance chain. The highest applicable Space role wins. A lower role on a child Space does not revoke a higher role inherited from an ancestor. If the chain contains no applicable Space grants, access is derived from the user’s organization and project permissions.
- Access sources: In the Share modal, Shared with shows the configured grants, while Who has access shows each user’s effective access and where it comes from:
- Direct access: Explicitly granted to this space
- Parent space: Inherited from a parent space
- Project: Inherited from project-level permissions
- Organization: Inherited from organization-level permissions
Managing nested space permissions
To change a nested space’s permission mode:- Navigate into the space
- Click the three-dot menu (
...) and selectShare - Toggle between Inherited Access and Restricted Access
- If switching to Restricted Access, you can then add or remove specific users and groups
When you switch a space to Restricted Access, you automatically receive Full Access to prevent accidentally locking yourself out.
Best practices for nested spaces
- Use groups over individual users: When sharing spaces, prefer adding groups rather than individual users. This makes permission management easier as your team grows.
- Plan your hierarchy: Consider how permissions should flow before creating deeply nested structures.
- Use Inherited Access when possible: Inheriting permissions simplifies management and ensures consistent access across related content.