

Before you begin
An organization admin must connect Slack to Lightdash, and you need permission to manage the agent. If you haven’t created one, follow Set up AI agents.Connect a single-agent channel
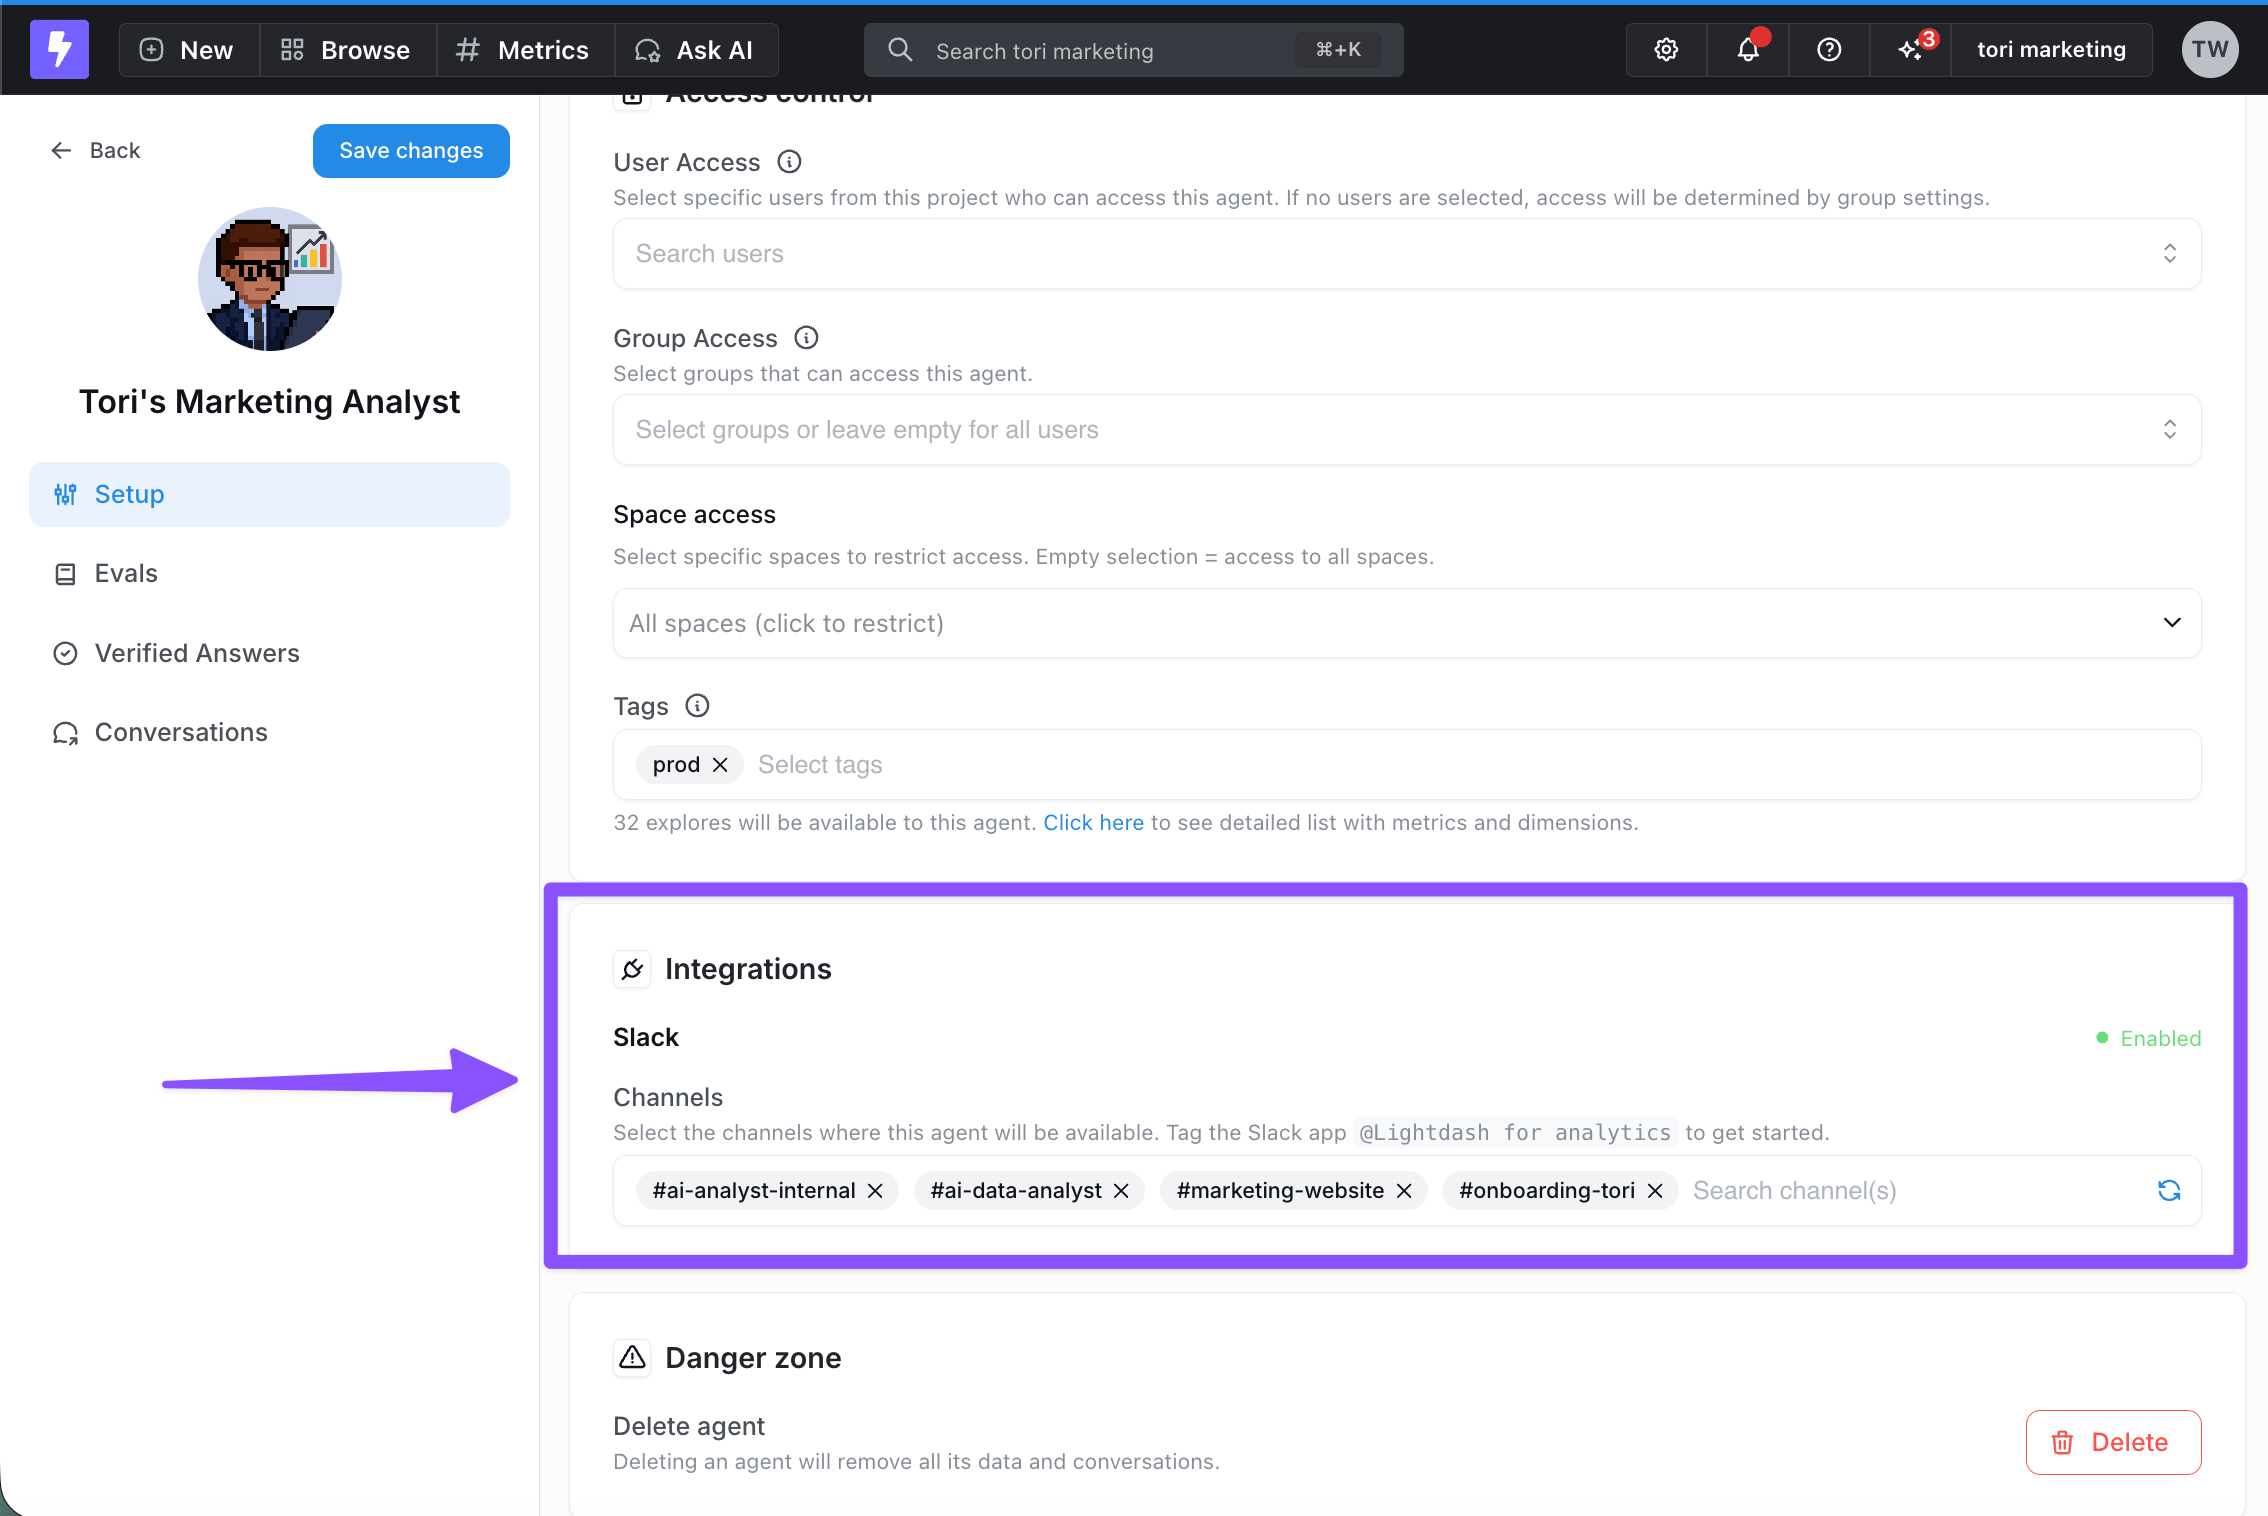
- Open the agent’s Integrations settings in Lightdash.
- Enable Slack and select the channels where the agent should respond.
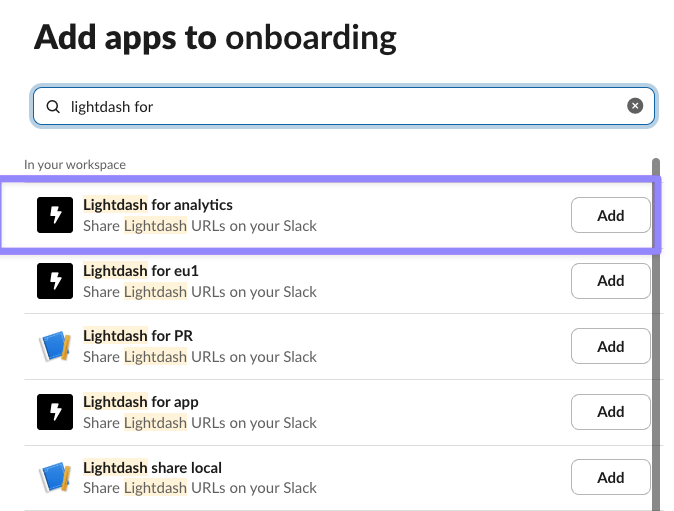
- In each Slack channel, open Edit settings → Integrations and add Lightdash for analytics.
- Mention the Lightdash app with a question, such as “Show me total order amount over time”. The agent replies in a thread.

Slack channels: single-agent vs. multi-agent
The per-agent integration path assigns one agent to each Slack channel. For several agents in the same channel, configure a multi-agent channel at the organization level. The AI Router picks an agent for each question sent to the Lightdash Slack app. How you interact with the app depends on where you’re posting:- New message in the multi-agent channel — no
@mentionneeded. Lightdash picks up the message automatically and routes it to the best-fit agent. - Reply in an existing thread —
@mentionthe Lightdash Slack app. Without the mention, Lightdash will not respond in-thread.
Setting up a multi-agent Slack channel
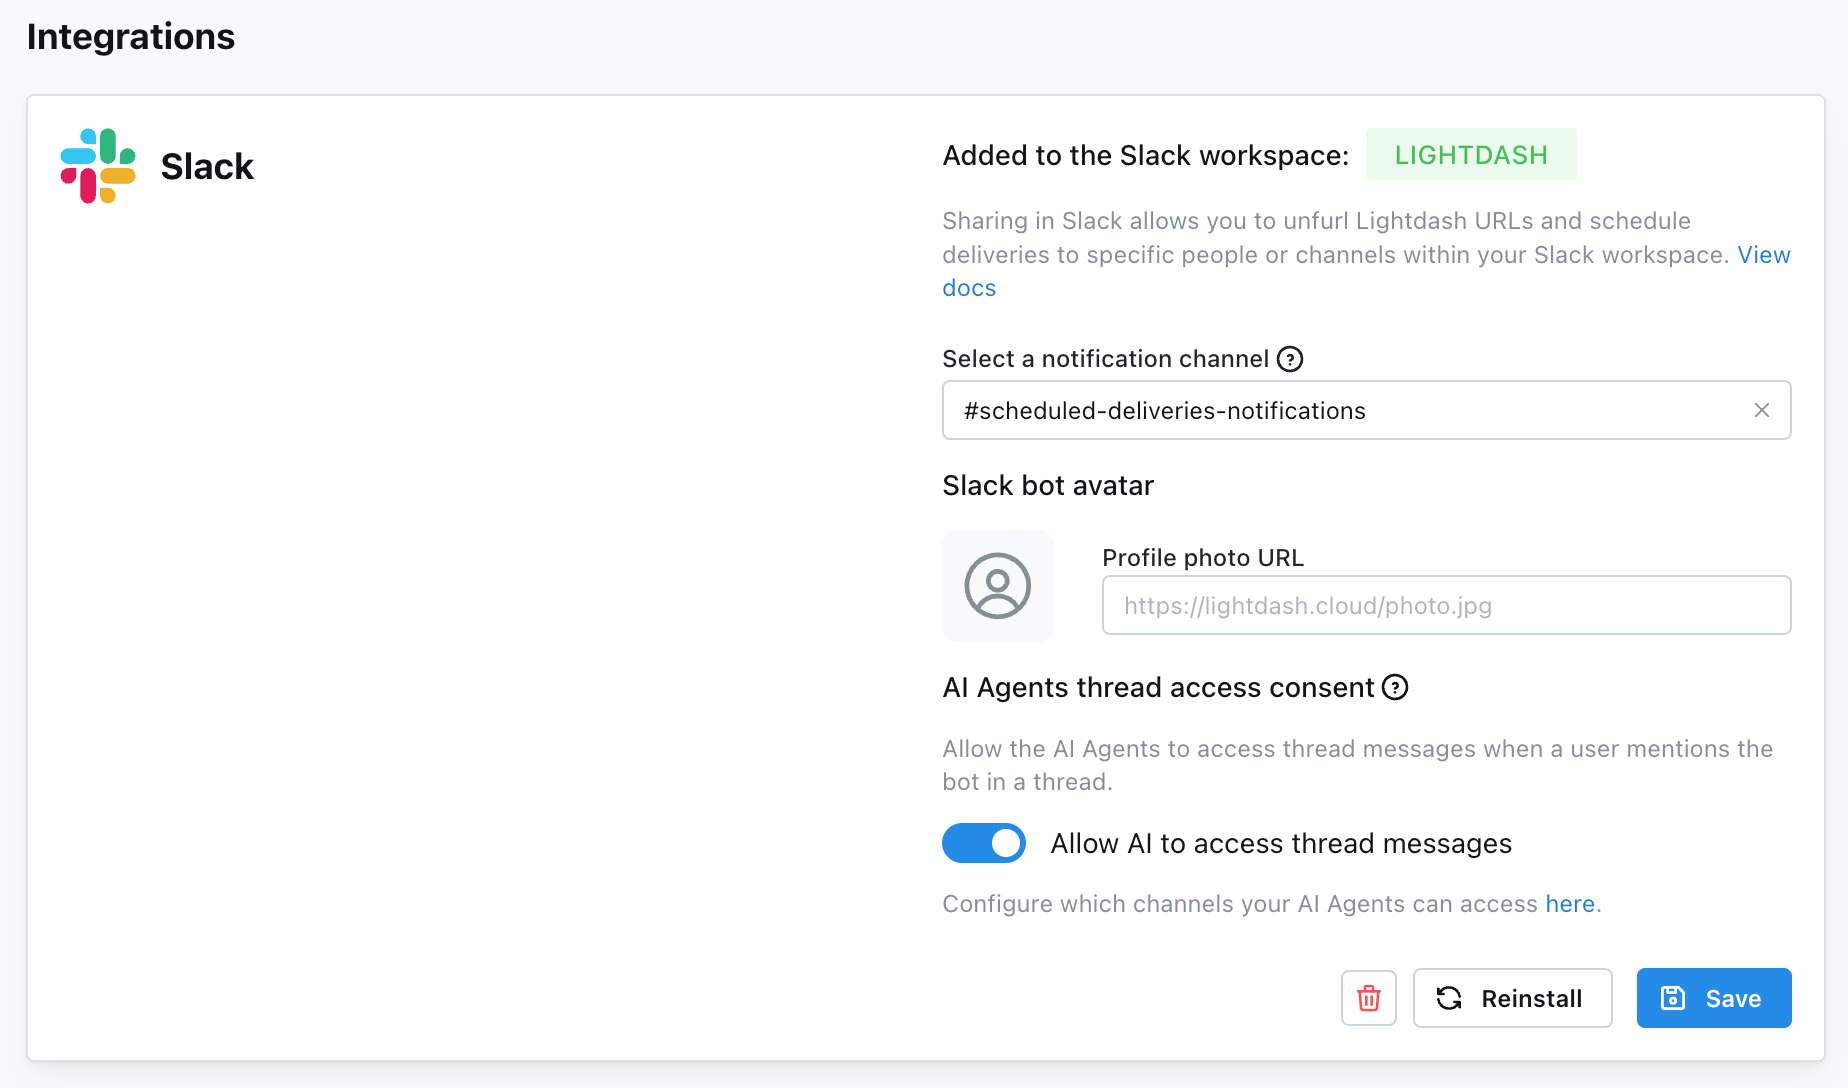
Multi-agent channels are configured at the organization level, not per-agent:- Go to Organization Settings → Integrations → Slack.
- Find the Multi-agent channel setting in the AI Agents configuration panel.
- Select the Slack channel you want to designate as the multi-agent channel.
- Click Save.
Linking an agent from Slack
You don’t have to go to the Lightdash UI to connect an agent to a Slack channel. When someone@mentions the Lightdash app in a channel that has no agent configured, Lightdash offers to link one right in the thread:
- One manageable agent — Lightdash auto-links it to the channel, confirms the link in-thread, and then answers the original question in the same turn.
- Multiple manageable agents — Lightdash posts an in-thread picker showing every agent the user can manage (labeled by agent and project). Selecting one links it to the channel and processes the original question.
- No manageable agents — Lightdash posts an ephemeral message asking the user to contact an admin, with a deep link to the AI agents page.
manage:AiAgent on an agent can link it. If the Slack user lacks that permission on every agent or isn’t linked to a Lightdash account, no channel binding is created.
If your organization needs the configured channel list to be a strict allowlist, an admin can turn off automatic channel linking in the Slack integration settings.